
Getting a good recording of a video call isn't just about hitting a button. You need the right tool for the job—whether that's the built-in recorder on your platform or a dedicated app—and a solid plan. A little bit of prep, getting consent, and knowing where you'll store the file makes all the difference in turning a simple meeting into something you can actually use again.
Why Recording Video Calls Is a Game-Changer
In our remote and hybrid world, recording video calls has gone from a "nice-to-have" feature to an absolute must. The numbers back this up: the video conferencing market was already huge at around $7 billion in 2022, and it's on track to blow past $21 billion by 2025. You can dig into more of the data on these video conferencing market trends to see just how fast it's growing.

This massive shift means we're using recordings for more than just a simple meeting archive. They've become essential for asynchronous work, letting teams spread across different time zones catch up and stay in sync without having to be in the same call at the same time.
Turning Conversations into Reusable Resources
Think about how this plays out in the real world. A single recorded call can be repurposed in dozens of ways, creating value long after the meeting ends.
Here are a few examples I see all the time:
- Product Development: Imagine capturing a customer's unfiltered reaction during a product demo. That raw feedback is gold for your development team.
- Training and Onboarding: Record one fantastic training session with an expert, and you've got an onboarding resource you can use for every new hire for the next year.
- Compliance and Documentation: For industries with strict regulations, having a verifiable recording of important decisions isn't just helpful—it's often required.
- Customer Support: Teams can review support calls to spot recurring problems, find better ways to explain solutions, and train agents more effectively.
When you turn a fleeting conversation into a permanent part of your knowledge base, you give your team the power to find the information they need, right when they need it. No more missed details or "he said, she said."
Ultimately, recording your calls is about building a library of your company's collective knowledge. It's a smart way to hold onto valuable insights, make your team more productive, and ensure collaboration works for everyone, no matter where they are.
Choosing the Right Recording Tool for Your Needs
Before you hit record, you have a big decision to make: should you use the recording feature built into your video call platform, or is it time for a dedicated tool? The best choice really hinges on what you plan to do with the final video.
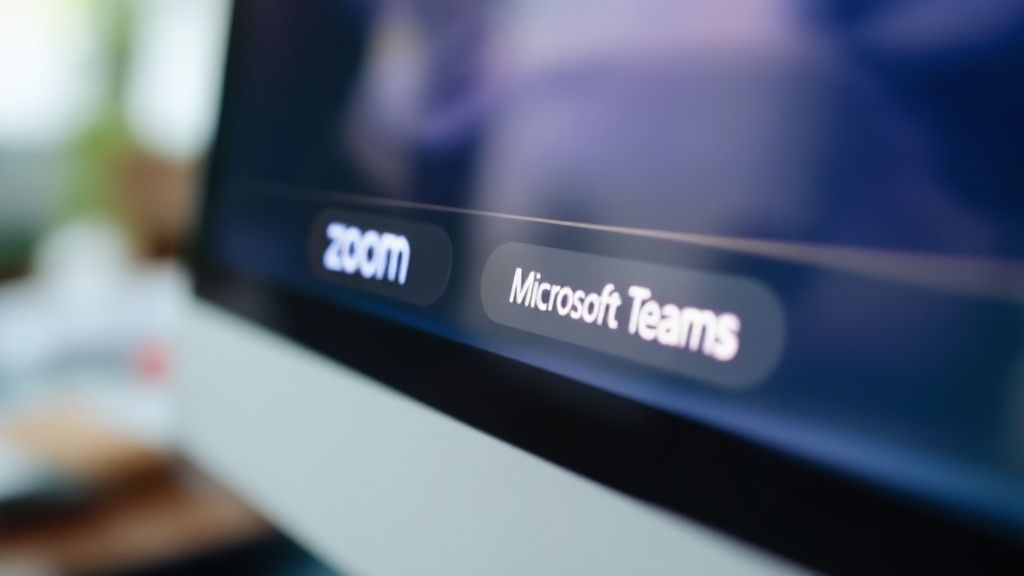
For a lot of day-to-day stuff, the native recorders in platforms like Zoom or Microsoft Teams are perfectly fine. They're convenient, already there, and get the job done for simple record-keeping. Think of a project manager who just needs to capture a quick team sync to share with someone who was out sick. Simple, easy, and good enough.
When Native Tools Fall Short
But the moment you need something more, you start to feel the limitations. Built-in recorders often produce lower-quality video and audio, and they usually dump the files into a storage system tied directly to your subscription plan. You can run out of space fast.
Let's say you're a customer success manager who wants to review support calls for training purposes. The grainy video and muffled audio from a native recorder just won't cut it for detailed analysis.
The core trade-off is simplicity versus capability. Native tools are easy, but dedicated software gives you the control and quality you need to turn your video calls into genuinely valuable assets.
This quick visual breaks down the key stages of any recording process, no matter which tool you're using.
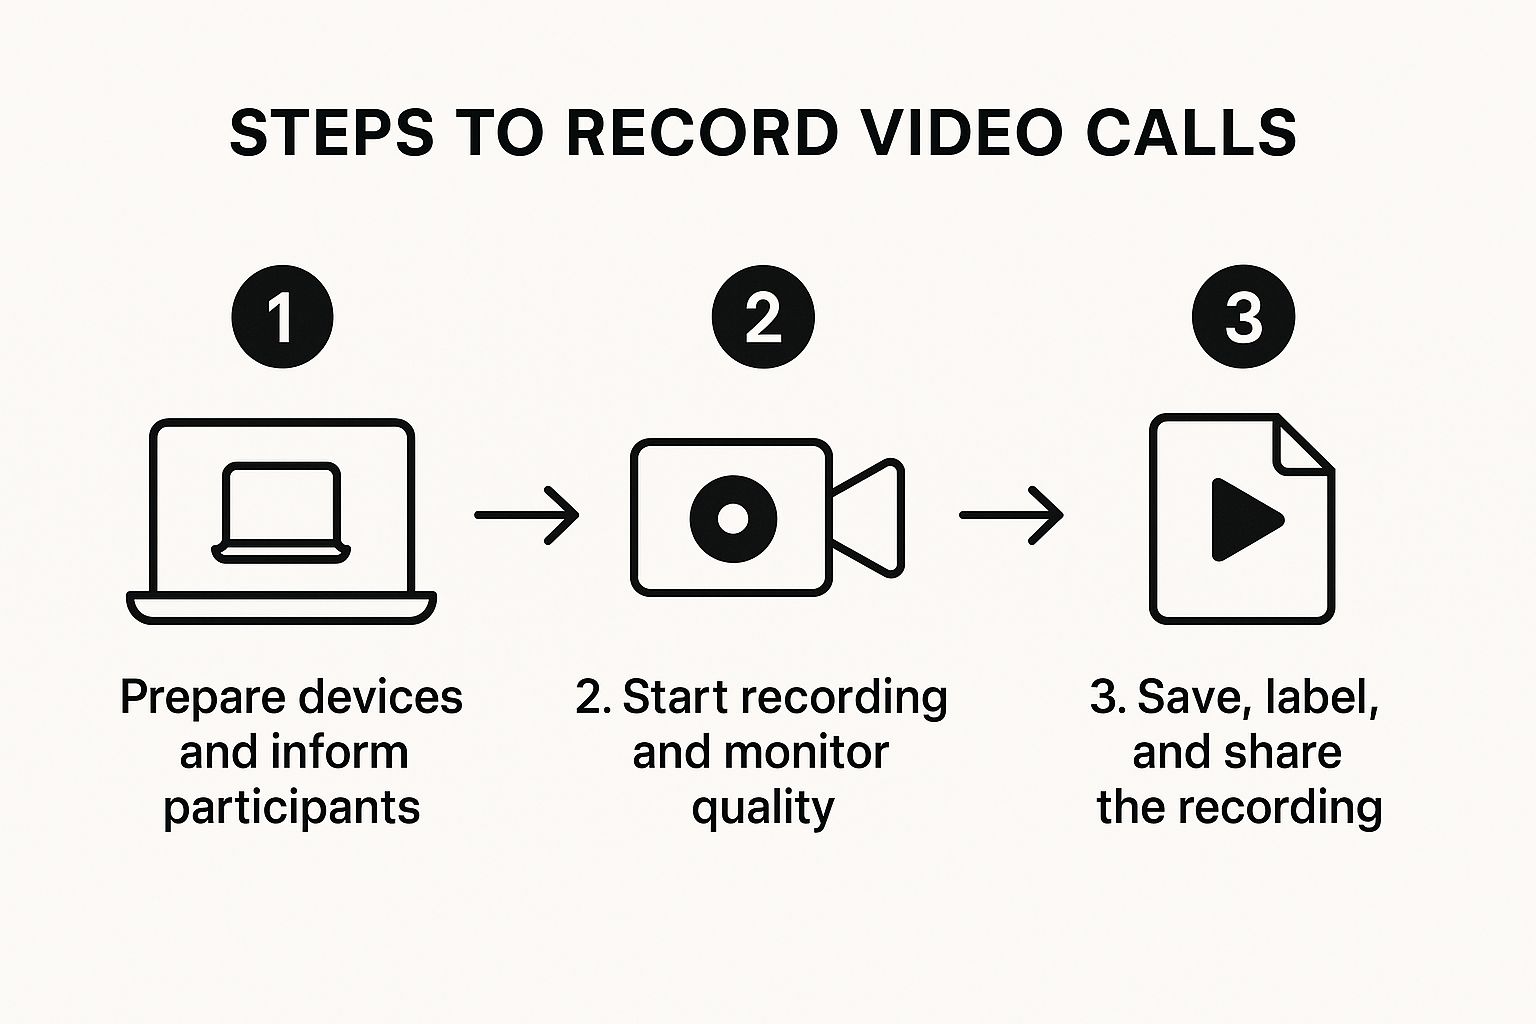
As you can see, getting a great recording involves more than just clicking a button. Preparation and proper storage are just as important, and that's where dedicated tools often pull ahead.
This is where specialized tools really start to shine. They give you:
- High-fidelity recordings with crystal-clear audio and video.
- Flexible storage options, so you're not locked into one ecosystem.
- Powerful features like automatic transcription, speaker identification, and even AI-powered summaries.
- The ability to record across different platforms, from Zoom to a custom-built WebRTC app, all with the same consistent workflow.
For a much closer look at all the options, our complete guide on recording video calls is a great resource.
Comparison of Video Call Recording Methods
To make the choice clearer, let's compare these two approaches side-by-side. This table breaks down the key differences between what you get out-of-the-box with platforms like Zoom and Teams versus what a dedicated tool can offer.
| Feature | Native Recorders (Zoom/Teams) | Dedicated Tool (e.g., Screendesk) |
|---|---|---|
| Video/Audio Quality | Standard definition, often compressed to save space. | High-fidelity, often up to 4K with separate audio tracks. |
| Platform Support | Works only within its own ecosystem (e.g., Zoom records Zoom). | Cross-platform, supports most major services and WebRTC apps. |
| Storage | Limited cloud storage tied to your subscription plan. | Flexible options (local, private cloud, various integrations). |
| Advanced Features | Basic recording, pausing, and stopping. | Automatic transcription, speaker ID, AI summaries, editing tools. |
| Use Case | Best for simple internal archival and sharing meeting minutes. | Ideal for training, quality assurance, content creation, and compliance. |
Ultimately, choosing the right tool comes down to your primary goal. If you just need a basic record for reference, stick with what's already built-in. But if you're creating training materials, analyzing customer feedback, or need polished, professional-quality video, investing in a dedicated tool is the way to go.
Recording Calls Natively in Zoom and Teams
Let's face it, most of us spend our days hopping between Zoom and Microsoft Teams. So, when you need to record a meeting, using their built-in features is often the path of least resistance. They might not have all the bells and whistles of a dedicated tool, but for archiving a call or catching up a coworker who was out, they work just fine.
The key is knowing what you're getting with each platform.
This built-in convenience didn't happen by accident. As remote work exploded, paid video conferencing subscriptions doubled worldwide between 2020 and 2025, reaching nearly 89 million. Since recording is a staple of premium plans, it's clear that more people than ever need to record video calls. Just look at Microsoft Teams—it shot up to 270 million daily active users in 2025, a massive 60% jump. These platforms are now the bedrock of how we work.
Mastering Zoom Recordings
Zoom gives you two straightforward choices for recording your calls: saving it locally to your computer or sending it up to the cloud.
-
Local Recording: This option saves the video file directly to your computer’s hard drive. It's available on both free and paid plans, but you’re on the hook for storing and sharing the file yourself. I find this is the best choice for a one-off recording that I plan to edit or send to someone quickly.
-
Cloud Recording: This is a perk for paid accounts. It automatically saves the recording to your online Zoom account, which makes sharing as easy as sending a link. It's a lifesaver for teams that need a central place to keep all their meeting archives.
Just remember, you have to be the host (or get permission from the host) to hit the record button. After the meeting wraps up, Zoom will process the file and drop it into your designated folder, whether that's on your machine or in your cloud portal.
Understanding Microsoft Teams Recordings
Microsoft Teams handles things a bit differently by weaving recordings right into its file system. When you record a call in Teams, the video doesn’t just end up in some random cloud folder; it’s saved directly into either OneDrive or SharePoint.
The biggest difference with Teams is its automatic integration with Microsoft 365. Your recording becomes just another file in your company's document management system, complete with permissions, sharing rules, and even automatic transcription.
This is actually pretty smart. If you record a one-on-one chat, the video lands in a "Recordings" folder in your personal OneDrive. If you’re in a team channel meeting, the recording goes into that channel's folder within the team’s SharePoint site. This system keeps everything organized and ensures the right people have access from the get-go.
Beyond the Basics: Advanced Recording on Any Platform
Native recording tools are great for a quick save, but what happens when you need more horsepower? This is where dedicated tools to record video calls really shine, especially when you’re working with platforms that don't have a built-in recorder, like a custom-built WebRTC app.
Think about a customer support team using their own in-house web app for live video chats. They can't just hit "record" in Zoom or Teams. A specialized tool like Screendesk slots right into their existing workflow, letting them capture high-quality video and audio from literally any source. This unlocks massive potential for quality control and training that was previously out of reach.
Taking Back Control and Getting Crystal Clear Quality
The biggest jump you’ll see with a specialized tool is in quality and control. Instead of getting a single, compressed video file, you get pristine recordings with separate audio tracks for every single person on the call. This is a game-changer for accurate analysis and transcription.
These tools also pack in powerful features that native recorders just don't have:
- Who said what? Automatic speaker identification pinpoints who is speaking and when, making it a breeze to analyze conversations later.
- No more manual uploads. Recordings can be automatically pushed to your helpdesk, CRM, or cloud storage. Say goodbye to downloading and re-uploading massive files.
- High-fidelity capture. You get the raw, uncompressed video and audio. This is absolutely essential if you're creating professional training content or trying to troubleshoot a tricky technical issue.
Here’s a look at the Screendesk interface, which shows a recorded support call.
Notice how it’s not just the video. The interface includes all the associated technical data, showing how these advanced tools capture so much more than just pixels on a screen.
The real magic is turning every video call into a structured piece of data. It stops being just a recording and becomes an event you can actually analyze. This can drive huge improvements, from tweaking customer service scripts to finding bugs in your software.
If you’re ready to move past the basic recording features, a dedicated solution gives you the flexibility to handle pretty much any situation you can throw at it. To explore more techniques and tools, check out these comprehensive how-to guides for recording videos.
Making Recordings That Are High-Quality and Ethical
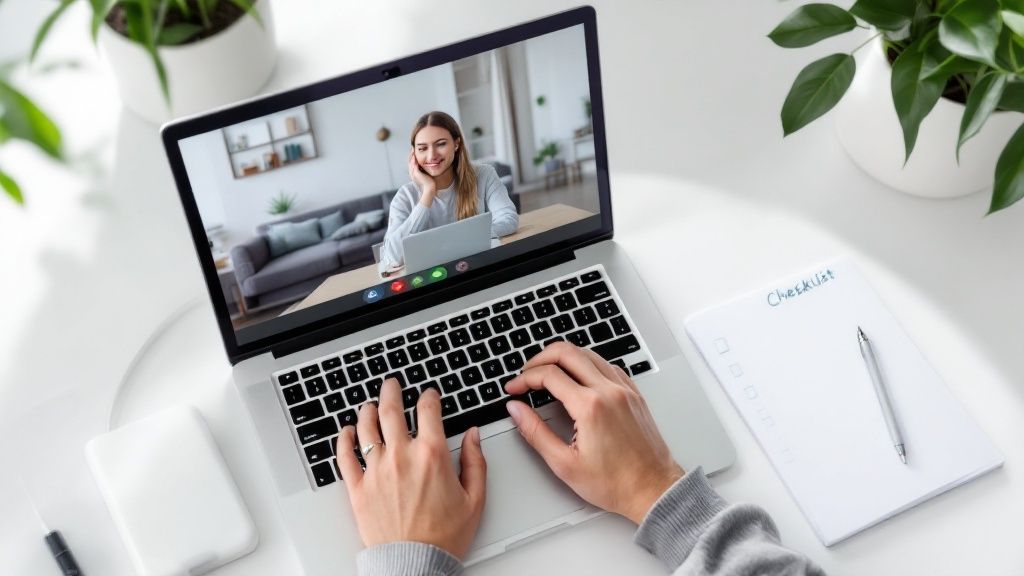
Hitting "record" is just the first step. To create a video that's genuinely useful and professional, you need a bit of prep work.
First thing’s first: always get consent. Before you even think about your tech setup, make sure everyone on the call knows and agrees to be recorded. The laws around this can get tricky depending on where people are located, so the best practice is simple—just announce it right at the start of the meeting.
This isn't just good manners; it's standard practice in most companies today. With 22% of the U.S. workforce expected to be fully remote by 2025 and 83% of employees preferring a hybrid setup, call recordings are essential for keeping everyone on the same page.
Getting Your Tech Right
Once you've handled the legal and ethical side, it’s all about quality. A recording with fuzzy video or scratchy audio is more frustrating than helpful, and it can completely undermine the importance of the conversation.
Here are a few simple tweaks that make a world of difference:
- Audio is King: Let’s be honest, your laptop's built-in mic probably isn't cutting it. An external USB microphone is a small investment that pays off big time in audio clarity.
- Light Up Your Face: The easiest lighting trick? Sit facing a window or place a lamp in front of you. Having the light source behind you creates a silhouette, which looks unprofessional and grainy.
- Kill the Distractions: Find a quiet spot for your call. A simple, clean background helps your audience focus on you and your message, not the pile of laundry in the corner.
A great recording shows you respect the viewer's time. When the audio is clear and the video is sharp, you're making it easy for them to absorb the information without a struggle.
Want to make your recordings even better? Tools that generate AI captions for video can make your content more accessible, searchable, and engaging for everyone.
For a more detailed breakdown, you can find more practical tips in our guide right here: https://blog.screendesk.io/how-to-record-a-video-call/
Got Questions About Recording Calls? We've Got Answers
When you start recording video calls, a few questions always pop up. It's totally normal to wonder about the rules, the tech, and how to get the best results. Let's walk through some of the most common things people ask.
Is It Actually Legal to Record a Video Call?
This is the big one, and for good reason. The short answer is: it depends on where you and the other participants are located.
Some places follow "one-party consent," meaning as long as you're part of the conversation and you consent, you're good to go. Others have "two-party" or "all-party" consent laws, which means everyone on the call must agree to be recorded.
So what's the best way to handle this? Simple. Just announce you're recording at the start of the call. A quick, "Hey everyone, just a heads-up, I'll be recording this call for our records," is usually all it takes. It’s transparent, respectful, and keeps you on the right side of the law.
Where Do My Recordings End Up?
This really depends on the tool you’re using. Your recordings could be hiding in a few different spots.
- Native Tools like Zoom or Teams: These usually save recordings to their own cloud storage, which is linked to your account, or they'll download the file directly to your computer.
- A dedicated tool like Screendesk: This is where you get more control. You can set things up to automatically send recordings straight to a shared drive, your CRM, or other apps your team uses. This keeps everything organized right where you need it.
Knowing where your recordings live is half the battle. A great recording tool doesn't just capture the video; it helps you manage it afterward by putting the file exactly where your team can find it and use it. No more digging through random folders.
Help! Why Is My Recording Quality So Bad?
Fuzzy video or garbled audio can kill an otherwise great recording. It almost always comes down to one of three things: a choppy internet connection, a bad microphone, or poor lighting.
Before you hit record, do a quick tech check. Is your Wi-Fi stable? If not, plug in with an Ethernet cable. The microphone built into your laptop is okay in a pinch, but an external USB mic will make a world of difference for clear audio. Finally, face a window or a lamp—good lighting is the easiest way to make your video look more professional and watchable.
Ready to capture crystal-clear video calls from any platform without the hassle? Screendesk provides high-fidelity recording, seamless integrations, and the control you need to turn conversations into valuable assets. Learn more at https://screendesk.io.