
Being able to clearly record your screen and voice at the same time is one of the most practical skills you can have for communicating online. The trick is to pair an easy-to-use tool, like Screendesk, with a decent external microphone. This simple setup is all you need to capture crisp, clear audio alongside smooth on-screen action, making your tutorials, feedback, and presentations look and sound professional.
Why Clear Screen and Voice Recordings Matter
In a world full of remote teams and online learning, recording your screen and voice isn't just a neat trick—it's a fundamental part of communicating well. Think about it: muffled audio or a choppy screen video can kill your message before it even lands, leading to nothing but frustration and confusion.
On the flip side, a high-quality recording builds confidence. It shows you know what you're doing, whether you're a developer walking through a complex piece of code or a support agent guiding a customer to a solution. It's about efficiency, too. Why write a massive email trying to explain a software bug when you can just show and tell in a 30-second clip? This move toward visual explanation isn't just a fad; it’s a smart response to how our brains actually prefer to take in information.
The Growing Demand for Visual Communication
The numbers don't lie. The screen recording software market was valued at $9.58 billion back in 2024 and is expected to nearly double to $18.25 billion by 2029. That's a massive jump, and it’s happening because we all need better tools for remote work, online classes, and clear software demos. If you're interested in the data behind this trend, Superagi.com has some great insights into the future of screen recording.
This explosion in growth points to one simple fact: we'd much rather watch someone do something than read a long-winded manual about it. A good recording can explain in two minutes what a dense document might take twenty to get across.
A great screen and voice recording isn't just about sharing information. It's about creating a shared understanding. It bridges the gap between seeing a problem and actually solving it, making it an essential tool for almost any professional today.
Real-World Impact Across Roles
This skill is incredibly versatile and makes a real difference in all sorts of jobs. Here are a few everyday examples:
- Customer Support: Instead of a long back-and-forth email thread, a support agent sends a quick, personal video showing a customer exactly where to click to fix their problem. Issue solved in one go.
- Software Development: A developer finds a bug, records their screen to show exactly how it happens, and sends it to the QA team. This gives them all the context they need to replicate and squash it fast.
- Team Collaboration: A project manager needs to get their remote team on the same page. They record a walkthrough of the new project plan, explaining key deadlines and tasks as they go. Everyone is instantly aligned.
In every scenario, combining what you see with what you hear turns a potentially confusing conversation into a crystal-clear guide. Mastering this isn't just about learning software; it's about getting better at connecting with people. For a closer look at this, check out our guide on effective visual communication techniques.
Setting Up for a Flawless First Take
I've learned this the hard way: a great recording has almost nothing to do with fancy editing. It all comes down to what you do before you even think about hitting that record button. A little prep work is what separates a polished, professional video from a frustrating session filled with retakes.
Think of it like cooking. You wouldn't just toss ingredients in a pan without a plan. You do your prep work first. The same principle applies here. Nailing down your physical environment (your audio) and your digital one (your screen) is the key to a final cut that people will actually want to watch.
Nail Your Audio From the Start
Audio quality is absolutely non-negotiable. Muffled, echoey, or noisy audio is the fastest way to get someone to click away from your video, no matter how great your content is. The good news is, getting crystal-clear sound is easier than you might think.
Your computer’s built-in microphone is fine for a quick call, but it’s terrible for recording. It picks up every keyboard click, fan whir, and echo in the room. This is why an external microphone is the single best investment you can make for your recordings. You don't need a thousand-dollar studio setup to sound amazing.
Here are a few solid options I often recommend:
- USB Microphones: This is the sweet spot for most people—great quality without the complexity. A mic like the Audio-Technica ATR2100x plugs right into your computer and delivers crisp audio that’s a night-and-day difference from your built-in mic.
- Headset with a Boom Mic: Already have a gaming headset? You’re in luck. The mic is positioned right by your mouth, which does a great job of isolating your voice from background noise.
- Lavalier Mics: These are the small clip-on mics you see on presenters. They’re discreet and incredibly effective, especially if you plan on moving around.
Microphone placement is just as important as the mic itself. I always aim to keep the mic about 6-8 inches from my mouth. Too close and you’ll get those annoying “popping” sounds. Too far, and you’ll sound distant and faint.
If your computer isn't picking up your new mic, don't panic. Our guide on how to enable your microphone will walk you through troubleshooting the common culprits.
Prepare Your Digital Workspace
With your audio sorted, it's time to prep your screen. A cluttered desktop or a mess of open tabs is incredibly distracting for your audience and can completely derail your message. The goal is to create a clean, focused canvas where your content is the star.
Before you hit record, ask yourself one question: "Is there anything on my screen that could pull my viewer's attention away from my main point?" If the answer is yes, get rid of it.
Start by closing every unnecessary application and browser tab. This is a two-for-one win: it tidies your screen and frees up precious system resources, helping prevent laggy or choppy video. Next, turn on your computer’s "Do Not Disturb" or "Focus" mode. Trust me, an unexpected email notification can ruin a perfect take.
Finally, do a quick run-through. Having a simple outline of your talking points can help you avoid awkward pauses and keep your delivery smooth. I always record a quick 30-second test clip to check my audio levels and video clarity before diving into the full recording. This tiny step has saved me from having to re-record entire sessions more times than I can count.
Recording Your Screen with Screendesk
Alright, with your gear all set up, it's time for the fun part: actually recording your screen and voice with Screendesk. Think of this less like a technical manual and more like a guided tour. The goal here is to make the tool feel like a natural part of your process, not another hurdle to jump over.
When you first open up the app, you’ll see a clean, simple interface. It’s designed to get you rolling in just a few clicks. The first couple of choices you make are the most important, as they set the stage for your entire recording.
Choosing Your Recording Area
First things first: you need to decide what your audience is going to see. Screendesk gives you a few flexible options so you can frame your content perfectly and keep viewers focused on what matters.
You’ve got a few choices here:
- Full Screen: This is your go-to for big, comprehensive tutorials. Think of situations where you're showing how two different apps work together, like dragging an asset from a design tool into a web editor.
- Application Window: Perfect for focused demos. If you're walking someone through a single piece of software, this keeps their attention exactly where it needs to be, with no distracting desktop notifications or other open windows.
- Custom Region: This is my personal favorite for getting into the nitty-gritty. You can draw a box around a specific part of your screen, like a toolbar or a specific feature. It’s incredibly useful for detailed, step-by-step instructions where you need to zoom in on the action.
As you can see, the layout makes it dead simple to pick your screen, camera, and mic right from the get-go.
This clean starting screen is all about removing the guesswork. You can see all your settings at a glance before you even think about hitting record.
Configuring Your Audio Sources
Once you've got your visuals locked in, it's time to handle the audio. Let's be honest, a recording with choppy or quiet sound is pretty much useless, no matter how good the video looks.
Screendesk makes it easy to select your microphone and decide if you want to capture your computer’s own sounds. This is where you’ll select that external USB mic we talked about earlier.
You also have the option to record system audio. This captures sounds your computer makes, like notification dings or audio from a video you're playing back. It's a must-have if you're demonstrating software that has its own sound effects or alerts. For most tutorials, a mix of a crisp microphone for your voice and system audio for context is the winning combination.
Here’s a little tip from my own experience: Always do a quick 10-second test recording. Pop on some headphones and listen back. Is your voice clear? Are there any weird background hums or system sounds you didn't expect? This one simple check can save you the headache of re-recording a whole session.
After you pick your mic, you'll see a little audio meter bouncing along as you talk. It's a small thing, but that visual feedback gives you confidence that everything is working before you press the big red button. And for those moments when you need to capture something quickly without installing software, a good browser screen recorder can be a great alternative.
Mastering Your Recording Workflow
With your screen and audio good to go, you're ready to create. Screendesk is designed to fade into the background so you can focus on delivering your message.
This is where keyboard shortcuts become your best friend. Learning to start, pause, and stop recordings without fumbling for an on-screen button makes everything feel so much smoother.
Picture this: you're in the middle of a tutorial and you completely blank on a key point. Instead of trashing the whole take, you can just pause the recording, take a breath, collect your thoughts, and resume right where you left off. This feature is an absolute lifesaver. It lets you produce a much cleaner first draft and saves a ton of time in editing. When you're done, another quick shortcut stops the recording, and your video is ready for the next step.
Advanced Techniques for Engaging Content
Once you've got the basics down, it's time to take your recordings to the next level. This is where we move beyond a simple capture and start creating content that’s genuinely helpful and engaging. Little touches can completely change how you record screen and voice, turning a standard tutorial into a guide people actually want to follow.
The whole idea is to direct your audience's attention and add a personal, human element. The good news is that Screendesk has these features built right in, so you can create polished, professional videos without having to open up a separate video editor for every little tweak.
Guide Your Viewer with Annotations
If there's one tool that immediately makes tutorials clearer, it's real-time annotations. Instead of just telling someone where to click, you can actively show them. As you're recording, you have the power to draw arrows, circle important features, or underline key text right on the screen.
Let's say you're walking a new customer through a complicated settings menu. You can circle the exact toggle switch they need to flip, which gets rid of any confusion. This one simple action keeps them locked in and cuts down on the classic "I can't find that button" support ticket.
Annotations aren't just for highlighting stuff; they're for creating a visual conversation with your viewer. You’re actively guiding their eyes, making sure your words and on-screen actions are perfectly in sync.
These visual cues are a lifesaver in technical support, where one wrong click can lead to a lot of frustration. Using annotations makes sure your instructions are crystal clear.
Enhance Clarity with Cursor Highlighting
Here’s another subtle feature that has a huge impact: cursor highlighting. When you turn it on, a colored circle or "spotlight" follows your mouse, making it incredibly easy for viewers to track your every move.
This is a complete game-changer for fast-paced demos or when you're navigating a busy interface. It stops viewers from losing your cursor, which is one of the most common complaints people have about screen recordings. It’s a small detail, but it shows you've really thought about their experience.
And speaking of a smooth experience, choosing the right frame rate makes a big difference in how your cursor and on-screen movements look.
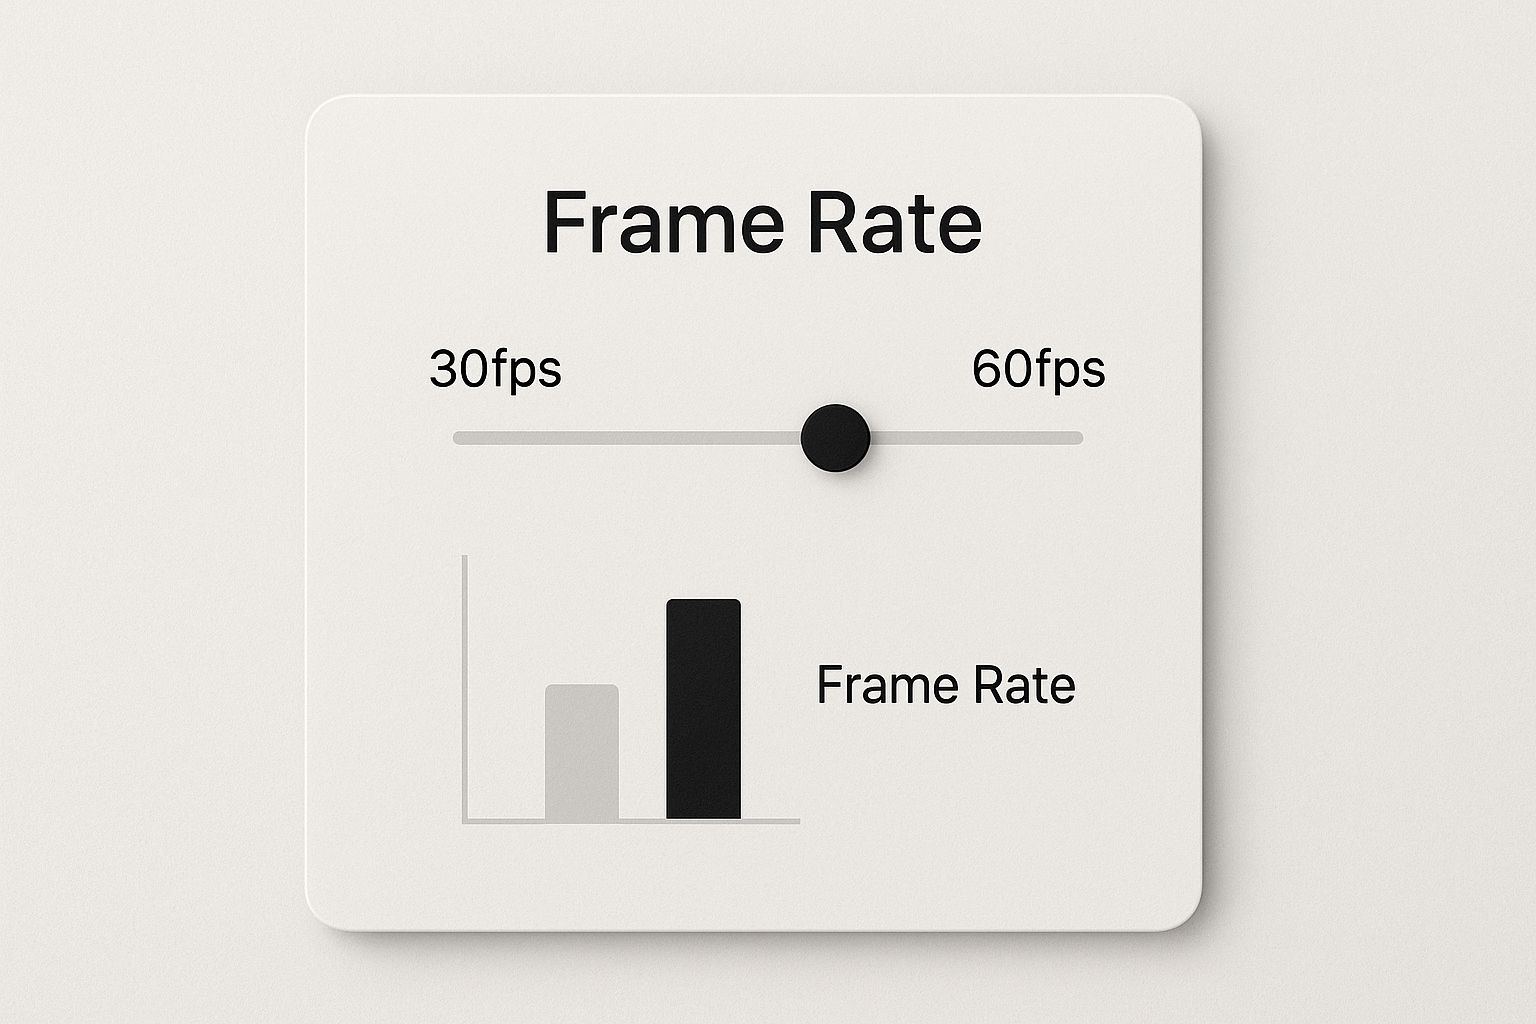
As you can see, 30fps is fine for most presentations, but bumping it up to 60fps gives you that silky-smooth motion that's perfect for detailed software tutorials.
Personalize with Your Webcam
Don't forget to show your face! Switching between your screen and your webcam adds a much-needed human touch. Kicking off or wrapping up a video with a personal introduction helps you build a real connection with your audience. When they can see the person behind the voice, it builds trust and makes the content feel way more personal.
Screendesk lets you switch between your screen and a full-screen webcam view without any hassle. I like to structure my videos this way:
- Intro: Start with your face on camera to greet your viewer and explain what you're about to cover.
- Demo: Jump over to the screen recording to walk through the actual steps.
- Outro: Switch back to your webcam for a quick summary and a friendly goodbye.
This approach breaks up the visual monotony of a long screen share and really helps keep people tuned in.
Polish with Simple Post-Production
Finally, a little trimming goes a long way. Let's be honest, nobody needs to see the first few seconds of you clicking the "record" button or the awkward moment you stop the recording.
Screendesk’s built-in editor lets you snip the beginning and end of your video with just a couple of clicks. This quick cleanup gets rid of dead air and fumbling, giving your recording a sharp, professional start and finish. It’s a fast final touch that makes your work look instantly more put-together.
Troubleshooting Common Recording Issues
Even the most seasoned creators run into hiccups when they record screen and voice. We’ve all been there—you finish what you think is the perfect take, only to find a technical glitch has ruined it. Instead of letting frustration take over, it helps to have a few go-to fixes ready.
Most of the time, the problem is something simple. Think of this as your field guide for diagnosing and fixing the most common issues, from maddening audio echoes to stuttering video.
Fixing Annoying Audio Echoes and Noise
Let's be honest: bad audio will kill a good video. If you’re hearing a weird echo or a delayed playback of your own voice, the cause is almost always the same.
Your microphone is picking up the sound coming out of your speakers. The absolute best fix? Wear headphones. Seriously, this one simple step isolates the audio so your mic only captures your voice, not the playback.
If you’re battling background hum or distracting noises, try these quick adjustments:
- Get Closer to the Mic: Aim for about 6-8 inches between you and your microphone. This makes your voice the dominant sound source.
- Quiet Your Environment: It sounds obvious, but closing doors and windows makes a huge difference. Also, kill any fans or noisy appliances before you start. Rooms with soft surfaces (carpets, curtains) are your friend.
Smoothing Out Choppy Video Playback
Is your finished recording looking jittery or laggy? That’s a classic sign your computer is gasping for air. Recording your screen and voice at the same time is a heavy lift for any machine.
The secret to smooth video is giving your computer less to do. Before you even think about hitting record, close every single application and browser tab that isn't essential for your tutorial. This frees up precious memory and processing power for a much cleaner capture.
If the choppiness persists, try lowering the recording resolution in Screendesk’s settings. Bumping it down from 1080p to 720p can dramatically improve performance, and honestly, most viewers won’t notice the difference.
It’s no surprise these issues are common, considering how popular this tech is. The screen recording market was valued at $2.5 billion in 2024 and is projected to reach $6.8 billion by 2033. You can discover more insights about screen recording market growth to see just how many people are hitting that record button.
Got Questions? We've Got Answers
Even with a tool as intuitive as Screendesk, you're bound to have a few questions when you start to record your screen and voice. Let's get right to it and tackle some of the most common things people ask.
What's the Best Format for My Screen Recordings?
Stick with MP4. Honestly, it's the gold standard for a reason. You get fantastic video quality without the massive file sizes that can clog up your hard drive or take forever to upload.
Screendesk actually defaults to MP4 because it’s the most universally compatible format out there. Your videos will play nicely on just about any device or platform you can think of.
The real win with MP4 is accessibility. You never have to second-guess if your colleague, client, or customer can open and watch the video you just sent. It just works.
How Do I Keep Background Noise Out of My Audio?
Nothing tanks a great video faster than bad audio. The first step is simple: find a quiet space. Shut the door, turn off the fan, and move away from that noisy air conditioner or open window.
A good directional microphone is also a game-changer because it’s designed to pick up your voice and ignore a lot of the ambient sound around you.
For the clearest audio possible:
- Try to keep the microphone about 6-8 inches from your mouth.
- A simple foam cover or pop filter can make a huge difference in smoothing out those harsh "p" and "b" sounds.
- Don't forget to see if your recording software has any built-in noise reduction settings you can switch on.
Can I Just Record My Screen Without Installing Anything?
You sure can. Both Windows (with its Xbox Game Bar) and macOS (via the Screenshot toolbar) have built-in tools for basic screen capture. They get the job done for a quick, no-frills recording.
But—and it’s a big but—these native tools are incredibly limited. You usually can't choose your microphone, draw on the screen to highlight something, or trim out mistakes. If you need to record screen and voice for anything professional, you'll quickly feel boxed in.
A dedicated tool like Screendesk is built for this exact purpose, giving you the control and features you need for a polished, effective video.
Ready to create crystal-clear tutorials and support videos in just a few minutes? Screendesk has everything you need to record, edit, and share high-quality content without the headache. Start your free trial today and experience it for yourself.