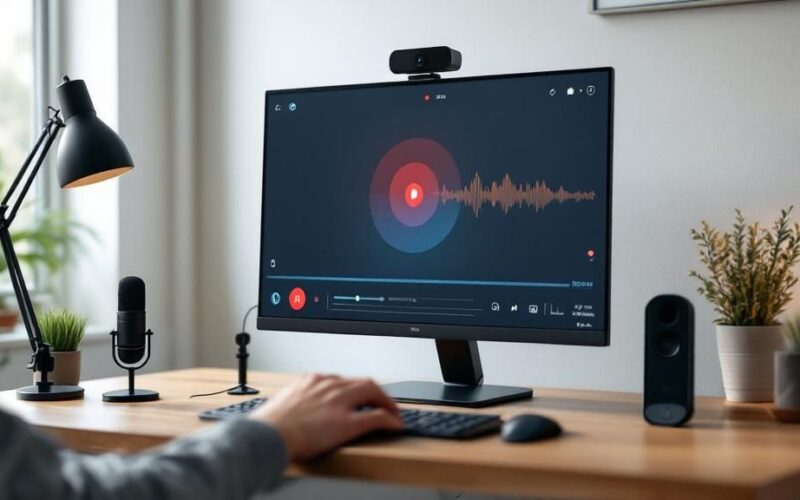
Figuring out how to video your screen is surprisingly straightforward. You just select the area you want to record, check your mic, and press the button. It’s a simple skill, but honestly, it’s a total game-changer for clear communication. Think of it as a way to replace long, confusing emails with a quick visual walkthrough.
Why Screen Recording Is an Essential Skill
Knowing how to record your screen isn’t just some niche tech trick anymore—it’s a fundamental part of how we communicate at work. Instead of typing out a wall of text to show a new team member how a process works, you can just send them a two-minute video. Problem solved.
This shift from text to video isn't just a small trend; it's massive. The global screen recording software market is currently valued at $9.58 billion and is expected to hit $10.92 billion in the next year. That growth is all about the need for better communication, especially with so many of us working remotely or learning online. You can dive deeper into the future of screen recording to see where the industry is headed.
Boost Your Team's Productivity
Remember the last time you tried to explain a software bug to IT or show a client exactly where to find a button on your website? A quick screen recording with a tool like Screendesk gets rid of all that guesswork.
It provides context that words and screenshots just can't capture. This means problems get solved faster with way less back-and-forth, freeing up your team to focus on what really matters.
A single, well-made screen recording can often resolve a customer support ticket in one go. It dramatically improves first-contact resolution rates because you're showing the solution, not just telling them about it.
Create More Engaging Content
It’s not just for internal emails, either. Screen recording is a fantastic tool for creating content that actually connects with people.
For instance, you can use it for:
- Marketing Demos: Show off your new software features with a dynamic walkthrough instead of relying on static images.
- Training Modules: Create a library of easy-to-follow video tutorials that your team can access whenever they need a refresher.
- Customer Support: Send personalized video replies to help users with their specific problems.
Once you get the hang of it, you’ll find yourself communicating ideas with far more clarity and impact.
Dialing in Your Setup for Flawless Recordings
Before you hit that record button, taking a minute to tweak a few settings can make all the difference between a rough cut and a polished final video. I always think of it like prepping a kitchen before you start cooking—a little organization upfront saves you from a massive headache later.
Let’s start with what matters most: your audio. It might sound strange, but your microphone is often more critical than your camera. People will tolerate a slightly fuzzy video, but they’ll click away in seconds if the audio is scratchy, muffled, or hard to understand.
Jump into your Screendesk settings and make sure your primary microphone is selected. Don't just assume it's working; do a quick test recording. Say a few sentences and play it back. Is there an echo? Can you hear your dog barking in the next room? If so, try getting closer to the mic or finding a quieter spot. It's a simple check that can save a recording.
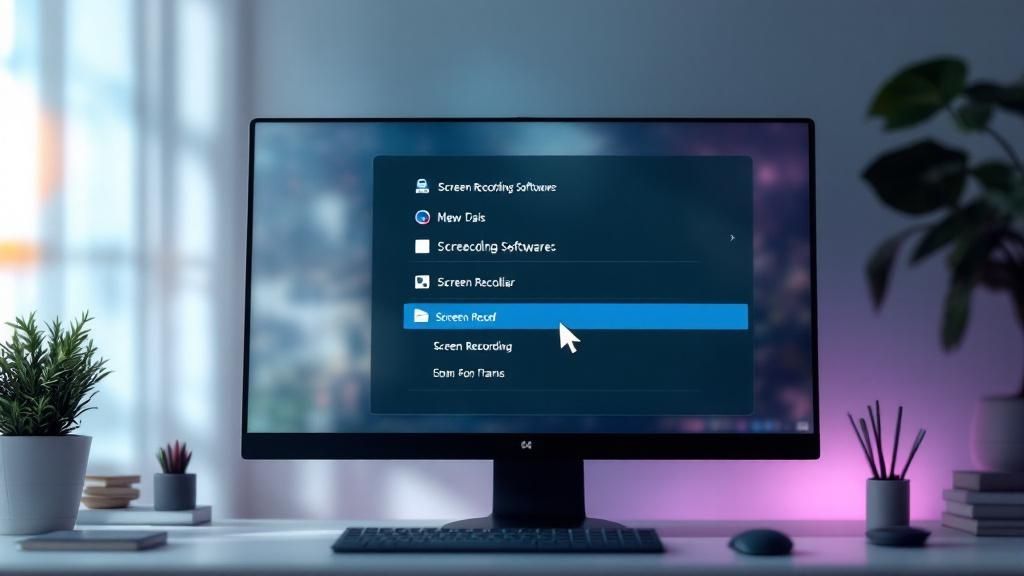
Choosing What to Show on Screen
With your audio sorted, now you need to decide what part of your screen you're actually going to record. This choice directly impacts how focused and professional your video feels. Screendesk gives you a few great options here.
-
Full Screen: This is your go-to for big, comprehensive tutorials where you need to jump between different apps or show your entire workflow. It captures absolutely everything, so make sure your desktop is clean!
-
Application Window: This is my personal favorite for most situations. It keeps the recording focused on a single program, which automatically hides desktop clutter, notifications, and other distractions. It just looks cleaner.
-
Custom Region: Need to zero in on something specific, like a tiny button in a complex interface or a single form field? This is the tool for that. It forces your viewer to look exactly where you want them to.
Nail these settings from the start, and you'll thank yourself during editing. Clean audio and a focused recording area mean less time spent trimming and cropping, which gets your video out the door faster.
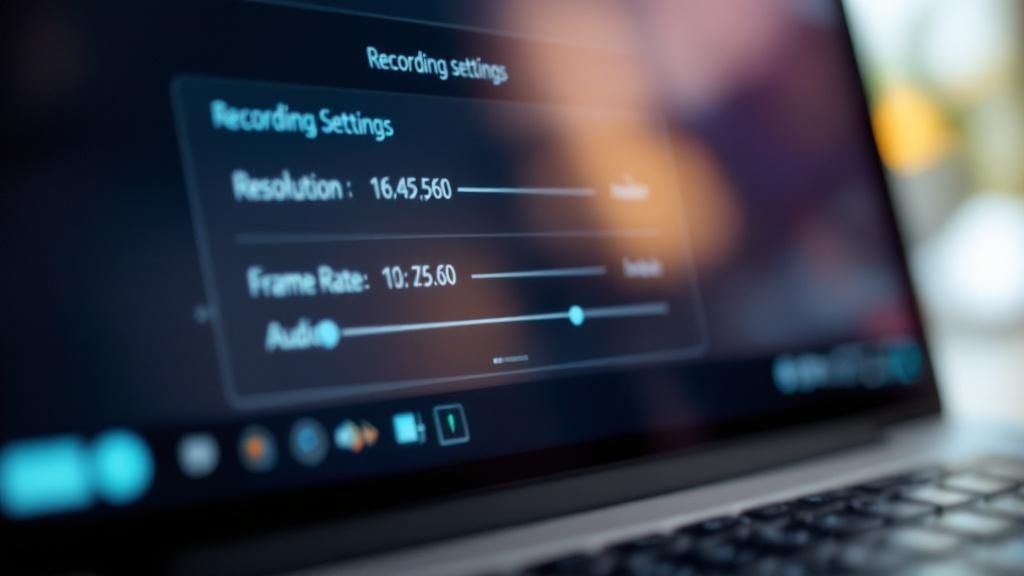
A Quick Check on Video Clarity
Last but not least, give your video resolution a once-over. You want your viewers to be able to read any text on your screen without squinting. For most recordings, 1080p is the gold standard for a sharp, clear image. While Screendesk is pretty smart about optimizing this for you, it never hurts to double-check that the settings align with what you're trying to achieve.
Screen recording itself has come a long way. It really started gaining traction in the early 2000s, but it exploded in popularity when it was built directly into operating systems. Think about when Apple added a native screen recorder to iOS back in 2017—suddenly, millions of people had a powerful tool right in their pocket. If you're curious, you can read more about the evolution of screen capture tools.
Now that your setup is dialed in, you're ready to create something great.
Creating Your First Screen Recording
Alright, you've got everything set up. Now for the fun part—actually hitting record. Knowing how to capture your screen goes way beyond just clicking "start" and "stop." Let's walk through how to make that first recording feel confident and look polished right from the get-go.
First, pull up Screendesk and have whatever you plan to record—an app, a browser tab, a design file—ready and waiting. Before you hit that big red button, take a second. Just a quick pause to think through your opening line. A strong, clear start really sets the tone for the entire video.
Mastering the Recording Flow
Here’s a little secret: you don't have to get everything perfect in one go. The pause button is your best friend here.
Seriously. Let’s say you need to show a process that involves jumping between a few different browser tabs. Instead of recording the fumbling and clicking around, just hit pause. This tiny step keeps your final video clean and focused, cutting out all the messy "behind-the-scenes" stuff that can distract your viewer.
Once you have the next screen queued up, simply resume recording. It's a simple trick that makes your tutorials look incredibly smooth, even if you’re taking a moment to gather your thoughts or find the right window.
The goal isn't a flawless live performance; it's a clear and helpful final product. Using the pause feature is the single best trick for eliminating "ums," long silences, and clunky transitions without needing complex editing software later.
Adding a Personal Touch with Your Webcam
Turning on your webcam is a fantastic way to connect with your audience. It puts a face to the voice, which instantly builds trust and keeps people engaged. Inside Screendesk, you can easily switch your webcam on and drag the video bubble to a corner where it won't cover up anything important.
Imagine you're recording a quick demo of a new software feature for your team. Here’s how you could approach it:
- Start with your face front and center. Introduce yourself and give a quick overview of what you're about to show them.
- Tuck your webcam away. As you dive into the demo, shrink your video feed and move it to a corner so it doesn’t block any menus or buttons.
- Talk through your actions. Narrate what you're doing as if you were sitting right next to a colleague. Use simple cues like, "Okay, next I'm going to click the 'Settings' icon in the top right…"
This method blends a personal connection with crystal-clear instructions. A friendly face can make your message so much more effective. For an even deeper dive, check out our complete guide on how to record on-screen video for more pro tips.
Getting More Out of Your Recordings with Advanced Features
Once you’ve nailed the basics of screen recording, it’s time to explore the features that can really make your videos stand out. These aren't just bells and whistles; they're powerful tools that help you create clearer, more professional-looking content. Think of them as your digital toolkit for guiding your viewer's attention.
For instance, instead of just saying, “Now, click on the submit button,” you can use real-time annotation tools to draw a bright red arrow pointing right to it. Highlighting a critical sentence in a document or using a spotlight effect to darken the rest of the screen makes your instructions incredibly easy to follow. It’s these small touches that separate a decent recording from a great one.
Go Beyond a Simple Screen Capture
Screendesk offers some powerful capabilities that can save you a ton of time and effort. One of my favorites is the scheduled recording feature.
Let’s say there’s a live webinar at 5 AM your time, and you absolutely need the content for a team training session. Instead of waking up at an ungodly hour, you can just schedule Screendesk to record it for you automatically. You get the content you need, and you don't miss out on your sleep. It's a game-changer.
Another crucial feature is the ability to capture your computer’s own sound, often called system audio. This is a must-have if you’re recording anything with sound already baked in, like a product demo video, a software tutorial with audio cues, or a clip from a company presentation. If you want to dive deeper, our guide on how to record your screen with internal audio has all the details.
The interface makes managing all your recordings incredibly straightforward, as you can see below.
Everything is laid out cleanly, with simple options to share, edit, or delete your videos, which really helps keep your workflow organized and clutter-free.
Making Post-Production Painless
Video editing can feel intimidating, but it doesn't have to be a huge production. Focusing on a few simple edits can dramatically improve the final product without eating up your entire day.
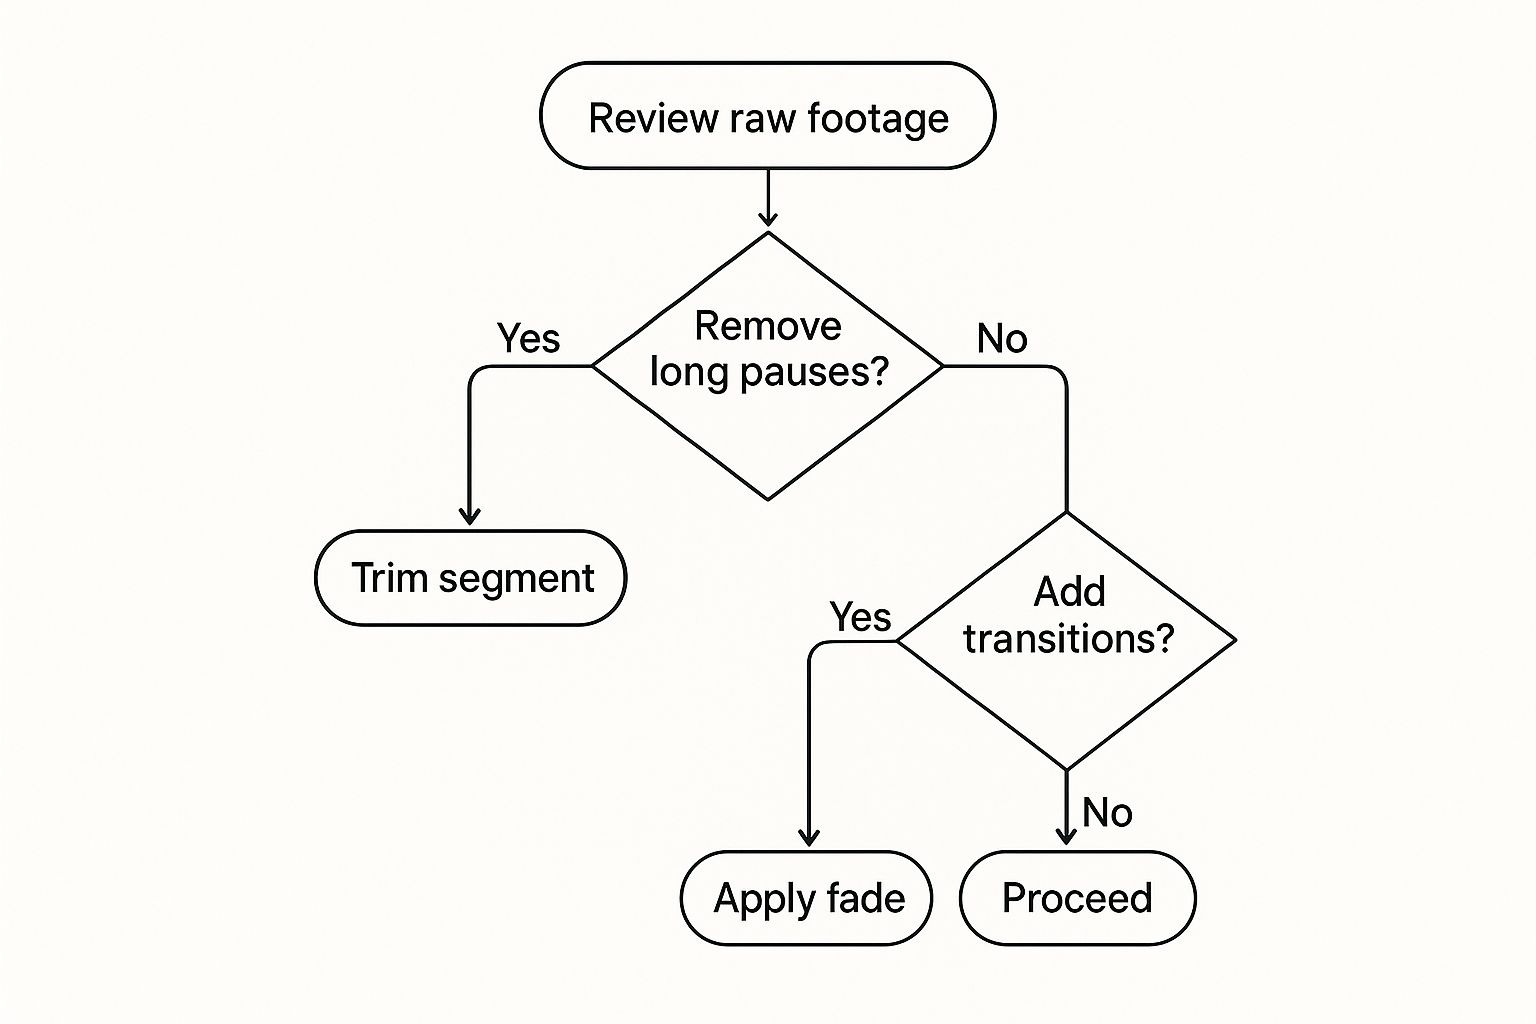
- Trim the fat: The single most effective edit is trimming the beginning and end of your video. Cut out the fumbling around to press record and the awkward silence before you stop the capture.
- Remove mistakes: Did you cough, stumble over a word, or click the wrong thing? Just snip it out. A clean, concise video is much easier for your audience to watch.
- Add context: Simple text overlays or callouts can add crucial context or clarify a complex point without you having to re-record anything.
My Two Cents: Don't chase perfection. The goal of a great screen recording is to be clear and helpful, not to win an Oscar. Use these features to enhance clarity and save yourself time, and you'll be creating better content in no time.
How to Edit and Share Your Final Video
Okay, you've stopped the recording. Now for the fun part: turning that raw capture into something genuinely helpful and professional. This is where a few simple tweaks can make all the difference.
Screendesk has a built-in editor that's perfect for this. Honestly, the single most important edit you can make is just trimming the beginning and end. No one wants to watch you fumbling to hit the record button or that awkward moment when you're trying to stop it. Just grab the handles on the timeline and snip off those rough edges for a clean start and a crisp finish.
Polishing and Sharing Your Creation
Once you've trimmed the video, think about adding a custom thumbnail. This is a small detail that has a big impact. A good thumbnail makes your video look more on-brand and inviting, which is especially useful if you're embedding it in a support doc or sharing it with a customer. It gives people context before they even press play.
When you're happy with how it looks, sharing is a breeze. You've got a couple of solid options depending on what you need to do:
- Generate a Link: This is my go-to for quick shares. Just get a link and pop it into Slack, an email, or a support ticket. Done.
- Embed the Video: Need it on a landing page or in your knowledge base? Grab the embed code and place it right where you need it.
This whole seamless process is why cloud-based tools like Screendesk have taken over. It’s no surprise that cloud-based screen recording software now has over 60% market adoption. The flexibility and dead-simple sharing just can't be beaten by older, clunky desktop apps. If you're curious, you can dig into more global screen recording software trends to see how things are evolving.
Key Takeaway: You don't need to aim for a Hollywood production. A quick trim and a clear thumbnail are usually all it takes to create a video that effectively solves a problem for someone.
And that’s it! You've gone from setup to a polished, shared video. If you want to explore more advanced tricks and techniques, check out our complete Screendesk screen recording tutorial.
Got a Question About Screen Recording? We've Got Answers
Even with a tool as straightforward as Screendesk, you're bound to run into a few snags when you first start recording your screen. It happens to everyone. Let's walk through some of the most common questions and get you back on track.
"My Video File Is Huge! How Do I Shrink It?"
This is probably the number one issue people face. You finish a ten-minute recording, and suddenly you're staring at a massive file that’s a pain to upload or email.
The easiest fix? Tweak your resolution. If you don't absolutely need crystal-clear 1080p, dropping it to 720p can dramatically cut down the file size without a noticeable loss in quality for most tutorials. Honestly, keeping your videos short and focused is always the best policy anyway.
"Why Does My Audio Sound So Bad?"
If you're getting that distant, echoey sound, your microphone is almost certainly the culprit. Your laptop's built-in mic just isn't cut out for high-quality audio.
You don't need a professional studio setup to fix this. Grabbing an external USB microphone will make a night-and-day difference. In a pinch, even the mic on your headphones is a huge step up from what's built into your computer.
"How Do I Record Without All My Notifications Popping Up?"
Nothing ruins a great take like a random Slack notification sliding onto your screen. Before you even think about hitting that record button, turn on your computer’s "Do Not Disturb" or "Focus" mode. It's a simple click that saves a ton of headaches.
While you're at it, tidy up your desktop. A screen cluttered with icons and folders is distracting and can make your video feel unprofessional. Just create a temporary folder, drag everything on your desktop into it, and you're good to go.
Here’s a little trick I’ve used for years: I have a separate user profile on my computer just for recording. It has a clean desktop, a generic wallpaper, and only the apps I need in the dock. It’s my foolproof way to guarantee a perfect, distraction-free recording every time.
"I Messed Up. Do I Have to Start Over?"
Absolutely not! Don't stress about making a mistake. When you flub a line or click the wrong thing, just pause for a moment, take a breath, and then repeat the action or sentence correctly.
You can easily snip out the error later. A quick trim in post-production is a lot faster than re-recording the whole thing from the beginning.
Ready to create polished, professional screen recordings without the hassle? See how Screendesk makes it easy to capture, edit, and share your screen. Start creating better videos today.