
So, you're ready to start making video tutorials. It’s a pretty simple idea at its core: plan what you want to show, record your screen and voice, clean it up a bit, and share it with your audience. But let's be honest—this isn't just a "nice-to-have" skill anymore. It's become a fundamental part of how smart companies handle customer support and teach people how to use their products.
Why Good Video Tutorials Matter More Than Ever
Before you even think about hitting that record button, it helps to understand why this is so important. Knowing how to create video tutorials isn't just about learning a new tool; it's a direct investment in keeping your customers happy and making your own team more efficient. We live in a world of instant gratification, and when a user has a problem, a great video is the quickest way to get them an answer.
This move to visual, on-demand help is completely changing the game for customer support. Think about it. Instead of getting tangled in long email threads or trying to explain complex steps over the phone, you can send a short, clear video that solves the problem in minutes. Not only does this make the customer feel heard and helped, but it also frees up your support agents to focus on the truly tricky issues. That’s a direct boost to productivity.
Boost Engagement and Reduce Support Workload
Put yourself in your customer's shoes. You're stuck trying to figure out a new software feature. Would you rather dig through a 1,000-word article or watch a two-minute video that shows you exactly where to click? The video, right? It's just faster and easier to process.
A great tutorial does more than just solve a problem; it empowers users, builds their confidence in your product, and fosters a sense of trust that written text alone often can't achieve.
This isn't just a gut feeling; it's what businesses are actually doing. Companies are increasingly building their video strategies around what customers need, with educational content right at the top of the list. In fact, many are finding that after videos about their products, it's the educational how-tos and webinars that have the biggest positive impact on their success. If you're curious, you can dig into more video marketing statistics to see how tutorials fit into the bigger picture.
To give you a clearer idea of where to focus your efforts, let's look at the types of videos businesses are having the most success with.
Top Performing Video Types for Businesses
This table highlights the most effective video formats businesses are creating and their perceived impact on company success, helping you prioritize your tutorial creation efforts.
| Video Type | Primary Use Case | Impact on Company Success |
|---|---|---|
| Product Videos | Showcasing features & benefits | Very High |
| Educational/How-To Videos | Customer support & onboarding | High |
| Webinars | In-depth training & lead generation | High |
| Explainer Videos | Simplifying complex concepts | Medium-High |
| Testimonials & Case Studies | Building social proof & trust | Medium |
As you can see, educational and how-to videos are right near the top. They are proven, high-impact assets that directly contribute to business goals by improving the customer experience.
A Cornerstone of the Customer Experience
There's hard science behind why video works so well. Our brains are just wired to process visuals better than text.
The data in that chart really drives the point home. Visuals are processed 60,000 times faster than text, can improve learning by up to 400%, and help people remember 65% of the information three days later.
When you create a video tutorial, you aren't just closing one support ticket. You're building a scalable, reusable asset that works for your business 24/7. It’s a proactive strategy that transforms customer support from a reactive cost center into a powerful engine for customer success and growth.
Laying the Groundwork for a Clear Tutorial

Before you even think about hitting the record button, the real work begins. A truly great tutorial is built on a solid plan, and this initial phase is what separates a clear, helpful video from a confusing one. The best tutorials feel effortless, but that's only because they were so carefully planned.
First things first: get inside your audience's head. Who are you actually talking to? You need to know if you're guiding a brand-new user who's completely lost or a seasoned pro trying to master an advanced feature. This single decision will shape your tone, pace, and how deep you need to go.
Once you know your audience, pinpoint the exact problem they need to solve. A vague goal like "show how to use the dashboard" is a recipe for a rambling, unfocused video. Get specific. A much stronger goal is, "Show a new user how to add their first team member to the dashboard." That clarity is everything.
Define Your Core Message and Learning Goal
Every effective tutorial has one single, clear takeaway. Before scripting or outlining, you have to be able to finish this sentence: "By the end of this video, the viewer will be able to…"
Think of this single learning objective as your North Star. It keeps you on track and ensures every second of your video delivers tangible value. If a step or piece of information doesn't directly support that one goal, it probably doesn't belong in this video.
A focused tutorial that solves one problem completely is always more valuable than a long, meandering video that tries to solve ten problems poorly. Stick to one goal per video.
To Script or to Outline? That Is the Question
With a clear goal in hand, it's time to structure your content. You really have two paths here: a full script or a detailed outline. There's no right or wrong answer—it all comes down to your personal style and the video's complexity.
-
A Full Script: Writing out every single word gives you maximum control. This is a great approach if you’re new to recording or feel a bit nervous. It makes sure you hit every key point and keeps your language tight. The only risk is sounding a bit robotic if you don't practice your delivery.
-
A Bulleted Outline: This is my go-to method. I jot down the main talking points and essential steps, which gives me a solid framework to follow. It allows for a much more natural, conversational flow because I'm not just reading. It provides guardrails without feeling like a straitjacket.
For instance, an outline for a "Setting Up a New Project in Screendesk" video might look like this:
- Intro: Quickly state the goal (Creating your first project).
- Step A: Navigate to the "Projects" tab from the main dashboard.
- Step B: Click the "New Project" button—I'd make sure to highlight exactly where it is.
- Step C: Fill in the project name and description. I'd add a quick tip about naming conventions here.
- Outro: Show the new project in the list to confirm it worked.
This simple structure keeps the video focused and moving forward. This planning stage is also the perfect time to think about your broader content strategy. For a deeper look at structuring educational content for internal teams, our guide on how to create training videos offers some fantastic frameworks. Putting in this groundwork is what makes all the difference.
Choosing the Right Tools for the Job
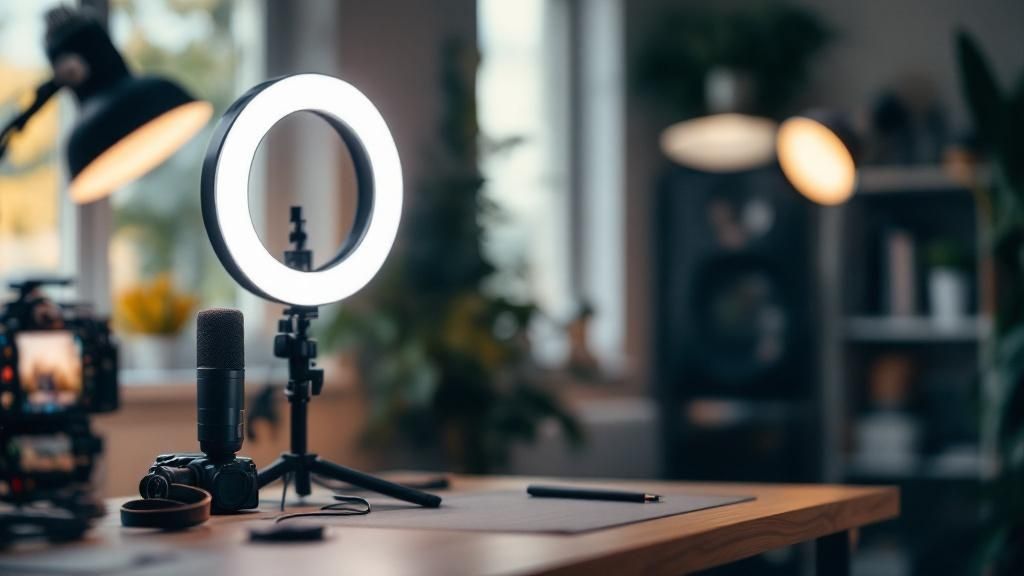
The gear you choose can be the difference between a frustrating, clunky recording session and a smooth, creative one. When you're just starting out with video tutorials, it's easy to get overwhelmed by options. But you don't need to spend a fortune—the key is to find reliable tools that fit your specific workflow.
For customer support, efficiency is everything. That’s where a purpose-built tool like Screendesk really shines. It’s not just another screen recorder; it's designed to live right inside your helpdesk. This means you can record, share, and even hop on a live call without juggling multiple tabs or apps. That integration alone is a massive time-saver.
With your software sorted, let’s talk about the single most important piece of hardware you'll buy: your microphone.
Why Your Microphone Matters Most
Here’s a hard truth I’ve learned over the years: you can have stunning, 4K video, but if your audio is scratchy, distant, or full of distracting background noise, people will leave. Fast. Bad audio instantly makes a tutorial feel amateurish and hard to follow.
Thankfully, you don't need a professional recording studio. A solid USB microphone is the perfect starting point and a surprisingly affordable upgrade. Look at brands like Blue Yeti or Audio-Technica—they make great plug-and-play mics that deliver crisp, clear sound right out of the box. Honestly, this one investment will do more to boost your video quality than anything else.
Bad audio is unforgivable. Viewers will tolerate mediocre video quality, but they won't stick around for audio that's hard to listen to. Prioritize a clear microphone above all else.
Prepping Your Recording Space
Once you have your software and mic, take five minutes to get your environment ready. This isn’t about building a fancy set. It's about eliminating distractions for both you and your viewer to create a clean, professional feel.
- Find a Quiet Spot: This is non-negotiable. Close the door, shut the windows, and do what you can to minimize noise from traffic, coworkers, or pets.
- Declutter Your Digital Desktop: A messy screen full of random icons is the digital equivalent of a messy room—it looks unprofessional. Hide your desktop icons or use a clean user profile specifically for recording.
- Silence All Notifications: Your email, Slack, and system updates have a sixth sense for popping up at the worst possible time. Make sure to turn them all off before you hit record.
Polishing your video doesn't stop with the recording, either. To really make your content pop, think about creating sharp intros, outros, or on-screen graphics. Using some of the best graphic design tools can help you add that extra layer of professionalism. It’s these small, thoughtful details that create a great video tutorial that truly helps your customers.
Recording Your Screen and Voice with Confidence
Alright, you’ve done the prep work. Now it’s time to hit the record button. This is where all that planning really pays off, turning what can feel like a high-pressure moment into a calm, controlled session. Remember, the goal isn't a flawless one-take wonder; it's to create something clear and helpful.
Once you start recording, try to speak at a natural pace. I always find it helps to imagine I'm just explaining something to a friend or coworker sitting right next to me. This makes the tutorial feel more personal and is much easier for your audience to follow along with.
Don't panic if you trip over a word or two. It happens to everyone. Just take a beat, pause for a second, and say the sentence again. We can easily snip out those little flubs in the edit.
Setting the Stage for a Clean Take
Before you press that red button, take a minute to do a quick "pre-flight check" of your screen. Trust me, nothing screams "amateur" like a random Slack notification or a software update pop-up in the middle of your tutorial.
Here’s my non-negotiable checklist:
- Turn on "Do Not Disturb" Mode: Both Windows and macOS have this feature. Use it. It’s a lifesaver that silences all those pesky notifications.
- Tidy Up Your Desktop: A desktop covered in random files and folders is distracting. Either hide the icons completely or, even better, create a clean user profile just for recording videos.
- Close Everything Else: Shut down every app, browser tab, and program that isn't directly part of your tutorial. This not only stops interruptions but also frees up your computer's resources, which helps prevent lag during the recording.
Your cursor movement is just as important as your voice. Avoid zipping it all over the screen. Instead, move it deliberately, as if you're using a laser pointer to guide your viewer's attention. I find that using a tool like Screendesk is a huge help here, as it can highlight your cursor or clicks, which adds a professional touch and makes your instructions crystal clear.
This quick visual breaks down the basic technical workflow you'll be following.
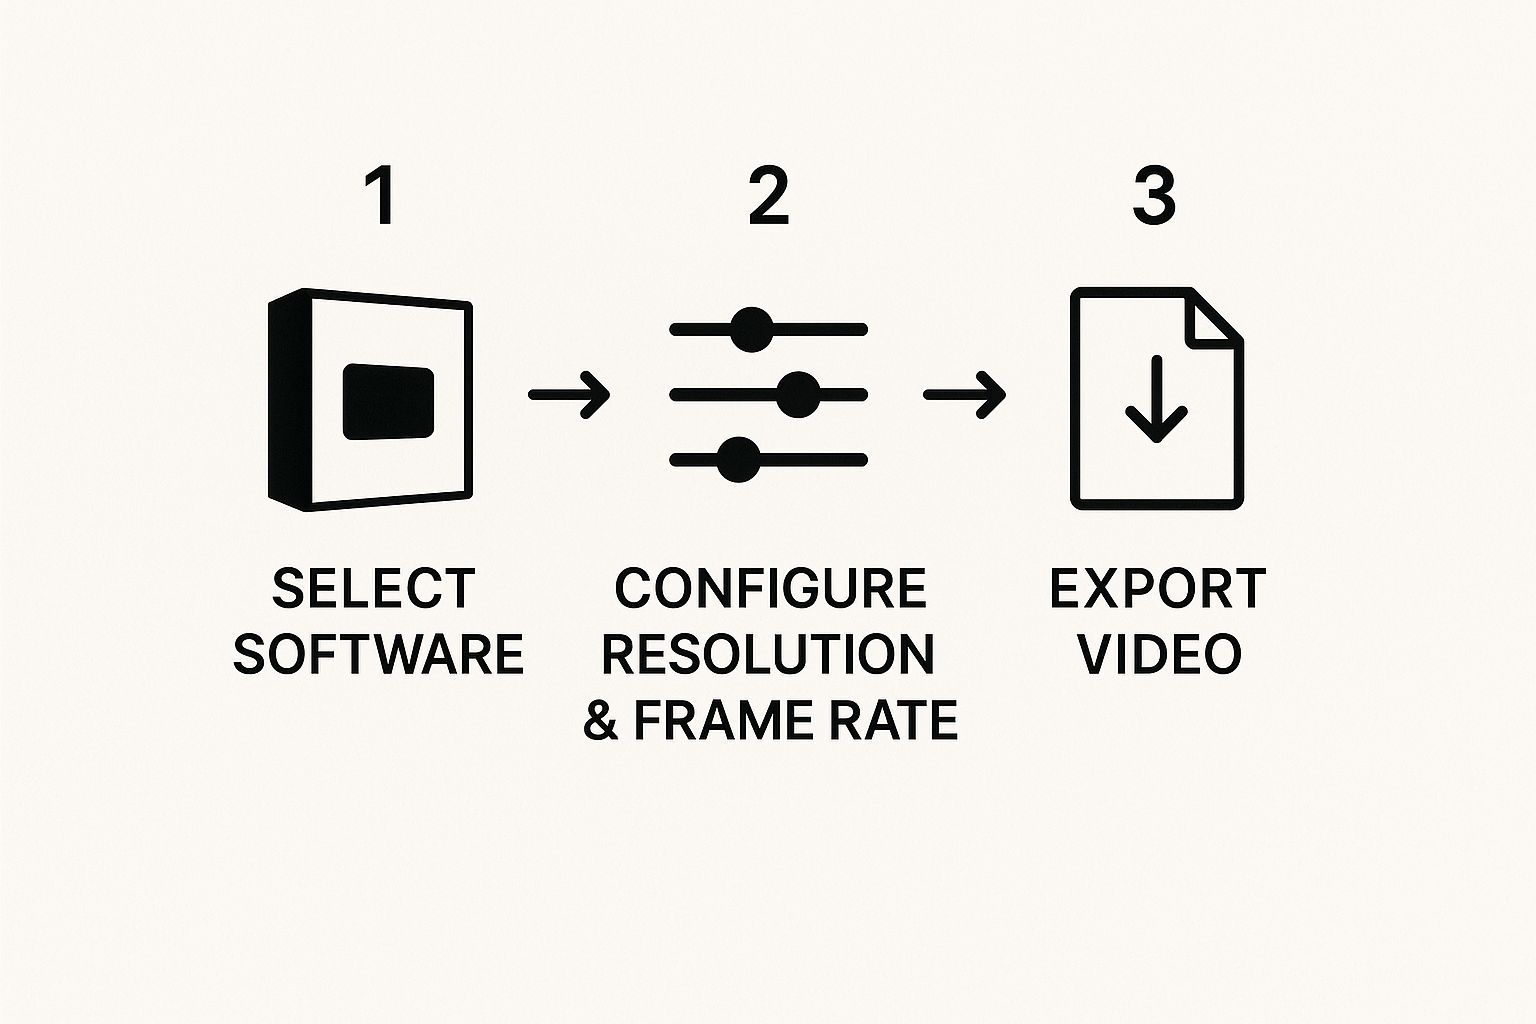
As you can see, once you have the right tool, it's really just a series of simple, manageable steps.
Confidence on camera isn't about being perfect; it's about being prepared. When you know your material, have your screen prepped, and understand that mistakes are fixable, the pressure just melts away.
Nailing your vocal delivery is a huge part of feeling confident. For more tips on that, we've put together a comprehensive guide on perfecting your screen recording with a voice-over.
By focusing on these fundamentals, you’ll end up with raw footage that’s clear, effective, and ready for a quick polish. It makes the whole process of creating video tutorials feel so much more achievable.
Polishing Your Video with Simple Editing Tricks
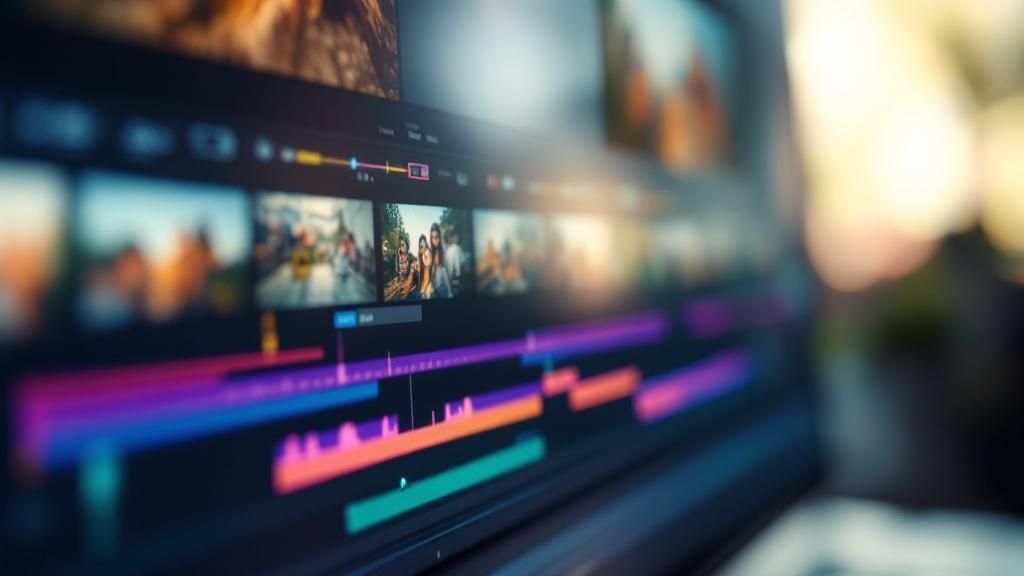
This is where the magic happens. Your raw recording is about to become a genuinely helpful, professional-looking tutorial. Don't worry, you don't need to be a film director—the goal here is simply to add clarity and remove any little distractions that might pull your customer's focus.
The first thing I always do is a quick "cleanup" pass. Start by trimming the dead space at the very beginning and end of the recording so the viewer can jump right in. Then, hunt down and slice out any awkward silences, "ums" and "ahs," or moments where you had to repeat a step. This one simple pass makes a massive difference, making your tutorial feel more confident and concise.
Adding Clarity with Visual Cues
Once your timeline is clean, you can start layering in little things that guide your viewer's eye. This is where you can seriously boost comprehension without needing any fancy editing skills.
Think about simple visual aids. A quick text overlay can highlight a key takeaway, while a subtle zoom on a specific button ensures nobody misses it. These small additions are proactive problem-solving; they answer questions before your customer even thinks to ask them.
Here are a few high-impact edits I rely on all the time:
- Trim the Pauses: Cut out the empty space between your sentences to keep the video's energy up.
- Use Simple Transitions: Stick to a basic fade or dissolve between scenes. It looks clean and professional, unlike a jarring jump cut.
- Add Highlights: Use arrows, circles, or other simple shapes to point directly to what you're talking about on screen.
- Zoom and Pan: Gently zoom in to focus on important details. If you're moving your cursor across the screen, a slow pan can help the viewer follow along.
The best editing is editing you don't even notice. Its job is to make the information effortless to follow, not to show off fancy effects.
This is a great starting point, but if you're ready to dive deeper, our complete guide on https://blog.screendesk.io/how-to-create-tutorial-videos/ covers even more techniques to take your skills to the next level.
The Rise of AI in Video Editing
The tools we use to create these tutorials are getting smarter all the time, largely thanks to AI. This has been a game-changer, making the editing process so much faster and more accessible for support teams without dedicated video editors.
And this trend is only getting bigger. The global AI video generator market is projected to hit $1.5 billion by 2029. In fact, 55% of marketers are already planning to incorporate AI-assisted videos into their strategy. Many modern editors, including those in the Screendesk ecosystem, now use AI to do things like automatically remove silences or generate accurate captions.
Speaking of captions, that's the final polish. Making your video accessible is non-negotiable. Adding clear, accurate captions helps everyone, especially those with hearing impairments or who are watching in a noisy environment. To make sure you're getting it right, it's always a good idea to check the WCAG captioning standards for video content.
By combining smart trimming, helpful visual aids, and a commitment to accessibility, you’ll turn a decent recording into a truly great tutorial.
Sharing Your Tutorial for Maximum Reach
https://www.youtube.com/embed/x8q_fiXFLpw
Creating a polished tutorial is a huge accomplishment, but your work isn't done just yet. A fantastic video only helps people if they can actually find it when they need it most. Now it's time to get your tutorial out there—the final, critical step in making it a lasting asset for your team and customers.
Your first stop should be search optimization. Whether you're uploading to YouTube or your own internal knowledge base, the title, description, and tags are your best friends for discoverability. You need to think like your customer. What words would they type into a search bar when they're stuck on this exact problem?
Use those key phrases in your title. For example, instead of a vague title like "Dashboard Update," try something much more specific and helpful, like "How to Add a New Team Member to Your Dashboard." In the description, write a quick summary and sprinkle in those relevant keywords naturally. This isn't just busywork; it's how search algorithms figure out what your video is about and who to show it to.
Getting Your Tutorial in Front of Users
Once your video is optimized, it's time to be proactive. Don't just sit back and wait for people to stumble upon it; put it directly in their path.
Embedding your tutorial into relevant knowledge base articles is one of the most powerful things you can do. It places a visual, easy-to-follow answer right where users are already looking for help.
When a customer asks a question in a support ticket that your video solves, don't just send them a link. Tools like Screendesk let you embed the video directly into your reply, offering an instant solution right inside the conversation.
The best tutorials feel like they're part of the workflow. They solve a problem the moment it happens, without making the user hunt for an answer or switch contexts.
Here are a few simple but effective ways to get your new content seen:
- Customer Newsletters: Announce new tutorials in your regular email updates. It’s an easy way to keep your users in the loop about the resources available to them.
- Social Media: Share a short clip or the full video on platforms like LinkedIn or X to reach a wider audience.
- In-App Notifications: If your product allows for it, you can notify users about a new, relevant tutorial directly inside the app.
The power of video to drive action is undeniable. Research shows that 89% of viewers have been convinced to buy a product after watching a video. On top of that, 68% of marketers report that video gives them a better return on investment than Google Ads.
You can dig into more of these powerful video marketing trends to get the full picture. By being thoughtful about how you share your work, you’re doing more than just posting a link—you're making sure your video tutorial delivers a real impact.
A Few Common Questions We Hear About Making Tutorials
When you're first diving into creating video tutorials, a few questions always pop up. It's totally normal. Let's tackle them right now so you can get started with confidence.
"How Long Should My Video Be?"
This is probably the number one question we get. The short answer? Shorter is better.
We’ve found the sweet spot is around 2-5 minutes. Your customers are looking for a quick, clear answer to a very specific problem. They don't have time for a full-blown documentary. If you're tackling a more complex process, resist the urge to cram it all into one long video. Instead, break it down into a playlist of shorter, bite-sized tutorials. This approach makes your content so much easier to follow and helps users pinpoint the exact solution they need without scrubbing through a 20-minute video.
"What If I Mess Up While Recording?"
First off, don't sweat it. Everyone makes mistakes. Seriously. Chasing that flawless, one-take recording is a recipe for frustration and wasted time.
If you fumble a sentence or click the wrong button, just take a deep breath, pause for a second or two, and then cleanly restart that thought or action. These little blips are incredibly simple to snip out in editing. Trust me, nobody will ever know.
The goal isn't perfection; it's clarity. A friendly, helpful guide who makes a tiny mistake is far more effective than a robotic, flawless narrator.
"How Do I Keep My Tutorials From Being Boring?"
Engagement isn't about fancy graphics or a booming announcer voice. It comes from being a helpful human.
Think about how you'd explain something to a colleague sitting next to you. That’s the tone you want—conversational, clear, and friendly. On-screen, use your cursor as a pointer to deliberately guide your viewer's attention. Simple edits, like zooming in on a crucial button or a specific field, can make a huge difference in keeping people locked in. When you focus on being a genuinely helpful guide, you’ll naturally create videos that people will actually watch.
Ready to create tutorials that solve problems in minutes? Get started with Screendesk and see how easy it is to record, edit, and share high-quality support videos directly from your helpdesk. Start your free trial today.