
Knowing how to record your computer screen and voice isn't just a neat tech trick anymore—it's become a fundamental skill for getting things done clearly and efficiently. Whether you're putting together a tutorial, giving feedback to your team, or just trying to document a process, combining what's on your screen with your voice is incredibly effective.
This guide will show you how to do just that using Screendesk, so you can create professional-quality recordings without the hassle.
Why Screen Recording Is a Modern Superpower
We've all been there. Trying to explain a complex software bug or a design change over email often turns into a novel-length thread of confusion. A quick screen recording with your voice explaining the issue can solve the problem in minutes. That’s the real power of showing, not just telling.
This skill is a game-changer in so many areas:
- Customer Support: Imagine sending a customer a short, personalized video that walks them through their exact problem. It's faster for you and a huge relief for them.
- Education and Training: Teachers can create dynamic lessons that students can re-watch, and students can record detailed project presentations.
- Team Collaboration: Instead of vague comments on a document, you can record your screen, point to specific areas, and explain your feedback clearly. No more guesswork.
The demand for this kind of communication is booming. The global screen recording software market is currently valued at $9.58 billion and is expected to hit $10.92 billion in the next year. This growth, tracked by platforms like Superagi, is all thanks to our shift toward video-first communication.
Before we dive into the step-by-step process, let's look at the key actions that make a great recording.
Your Quick Guide to a Perfect Recording
Here is a summary of the essential actions for a successful screen and voice recording, which we'll detail throughout this guide.
| Phase | Key Action | Why It Matters |
|---|---|---|
| Preparation | Check your mic and environment | A clean audio track is just as important as clear video. |
| Recording | Speak clearly and at a steady pace | This keeps your audience engaged and makes your points easy to follow. |
| Post-Recording | Trim unnecessary parts | A quick edit makes your video concise and professional. |
Getting these basics right from the start will make a world of difference in the final product.
Mastering screen recording gives you a powerful tool for all sorts of tasks, from creating educational content to recording Google Slides presentations with voice-over. It completely changes how you share knowledge and solve problems.
Ultimately, learning to record your screen and voice with tools like Screendesk is about more than just pressing a button. It's about communicating with precision, saving everyone time, and making our digital interactions feel a lot more human. Let’s get started.
Finding the Right Screen Recording Software
Before you hit record, you have to pick your tool. This decision really matters—it’s the difference between a smooth, professional-looking video and a clunky, frustrating experience. The market is flooded with options, from the free tools baked into your computer to powerhouse professional suites.
Our go-to here is Screendesk. We’ve found it hits the sweet spot between having a ton of useful features and being genuinely easy to use. It’s designed for pretty much everyone, whether you’re a total beginner or a support pro who needs to document complex bugs.
That said, the best tool for one job isn't always the best for another. Let's walk through the main contenders so you can figure out what fits your needs.
What Are Your Options?
Here’s a quick rundown of the different types of screen recorders you'll encounter. Each one shines in different situations.
- All-in-One Platforms (like Screendesk): These are built for getting work done, especially in a team setting. Think beyond just recording—they often include instant sharing, collaborative libraries, and handy integrations. This makes them ideal for customer support, internal training, or creating product demos.
- Advanced Open-Source Software (like OBS Studio): If you need total control, OBS Studio is the gold standard. It’s a favorite among streamers and video pros because you can juggle multiple video sources, build intricate scenes, and tweak every single setting. Be warned, though: the learning curve is steep.
- Quick-Sharing Tools (like Loom): Tools like Loom are all about speed. You record, get a link, and share it. Done. They’re fantastic for quick check-ins with your team but often lack advanced editing or high-fidelity recording options.
- Native OS Recorders: Your computer already has a screen recorder. Windows has the Xbox Game Bar, and macOS has its Screenshot toolbar. They’re free and convenient for a quick, no-fuss recording, but they are very basic.
The most important thing is finding a tool that feels natural to you. It should match what you're trying to do without getting in your way or overcomplicating things.
Comparing Popular Screen Recording Tools
To make it even clearer, here’s a side-by-side look at how these tools stack up. This should help you pinpoint the best fit for your specific projects.
| Feature | Screendesk | OBS Studio | Native Tools (Windows/macOS) |
|---|---|---|---|
| Ease of Use | Very high | Low | High |
| Collaboration | Excellent | None | None |
| Customization | Good | Very high | Very low |
| Sharing | Instant links | Manual export | Manual export |
| Best For | Teams, support, demos | Streaming, pro video | Quick, simple tasks |
| Cost | Freemium | Free (Open-Source) | Free (Built-in) |
Ultimately, your choice boils down to what you need to accomplish. For a more detailed breakdown, our guide on how to record on-screen video explores different tools for various scenarios. Whichever you pick, the right software will make it simple to record your computer screen and voice and get your message across clearly.
Setting the Stage for a Flawless Recording
A great video doesn’t just happen when you hit "record." It's all in the prep work. Trust me, jumping straight in without a few minutes of setup is the fastest way to create a video full of distracting pop-ups and frustrating do-overs. Taking a moment to prepare will make the entire process to record computer screen and voice so much smoother.
First things first, think of your screen as a stage. You wouldn't want a cluttered stage, right? A desktop covered in random files and folders just pulls your viewer's focus away from what you're trying to show them. Clean it up! Just drag everything into a single "temp" folder for a bit.
Next, get rid of anything you don't absolutely need for the recording. Shut down extra applications and close all those unnecessary browser tabs. This does more than just stop that surprise Slack notification from ruining a perfect take—it also frees up your computer's processing power, which means a cleaner, lag-free recording.
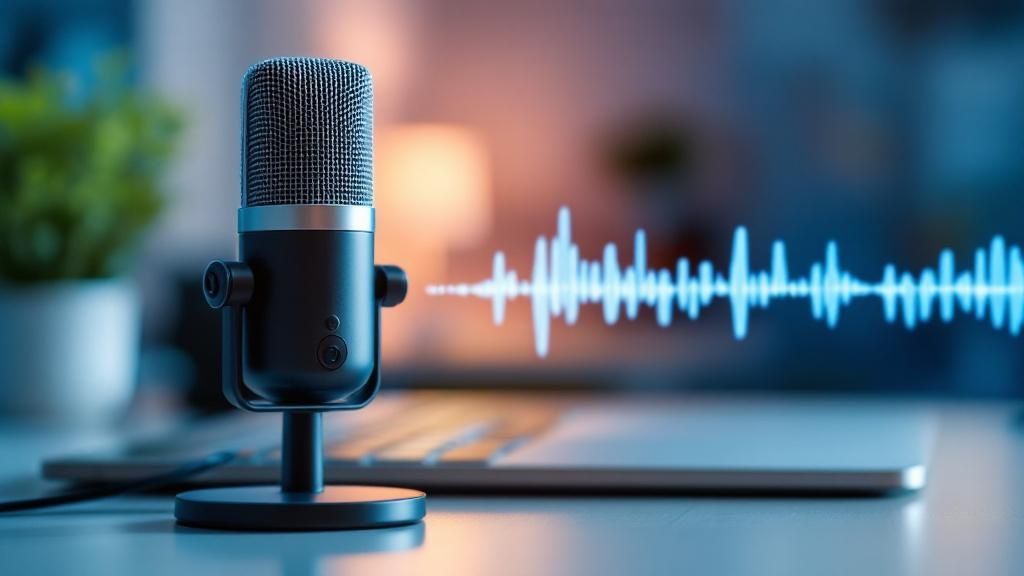
Optimizing Your Audio
Look, your audio is just as crucial as your video, if not more so. Clear, crisp audio builds trust and keeps people listening. On the other hand, fuzzy, echoey sound is an instant turn-off that will have viewers clicking away in seconds.
Your laptop's built-in mic might work in a pinch, but an external USB microphone is one of the single best investments you can make. It captures much richer sound with way less background noise, giving you that professional, clear voice you're after.
To get the best sound possible, here are a few things I always do:
- Find a Quiet Space: Echo is your enemy. Recording in a room with carpet, curtains, or other soft surfaces can make a huge difference in cutting it down.
- Run a Soundcheck: Always, always do a quick test recording. Say a few sentences and listen back to check your volume. You want to make sure you’re not too loud (which causes a distorted "clipping" sound) or so quiet that people have to crank their volume.
- Prepare Your Script: Even just having a few bullet points ready can help you speak more confidently. It’s the best way to avoid those long, awkward pauses while you try to remember what to say next.
Mastering this setup process isn't just for creating tutorials. These skills come in handy in all sorts of professional situations, like when you're recording a video interview like a pro. A little preparation ensures your final video is polished, professional, and easy for your audience to follow.
Your Guide to Recording with Screendesk
Alright, let's get into the good stuff. Now that you've done the prep work, it’s time to actually record your computer screen and voice using Screendesk. This is where you’ll see how a little planning leads to a polished video without any of the usual technical drama.
Once you’ve downloaded and installed the app, you’ll land on the main recording interface. It’s designed to be clean and simple, getting you from zero to recording in just a few clicks.
As you can see, everything you need is right there in front of you.
The main controls—mic, camera, and what you want to record—are front and center. No digging through confusing menus.
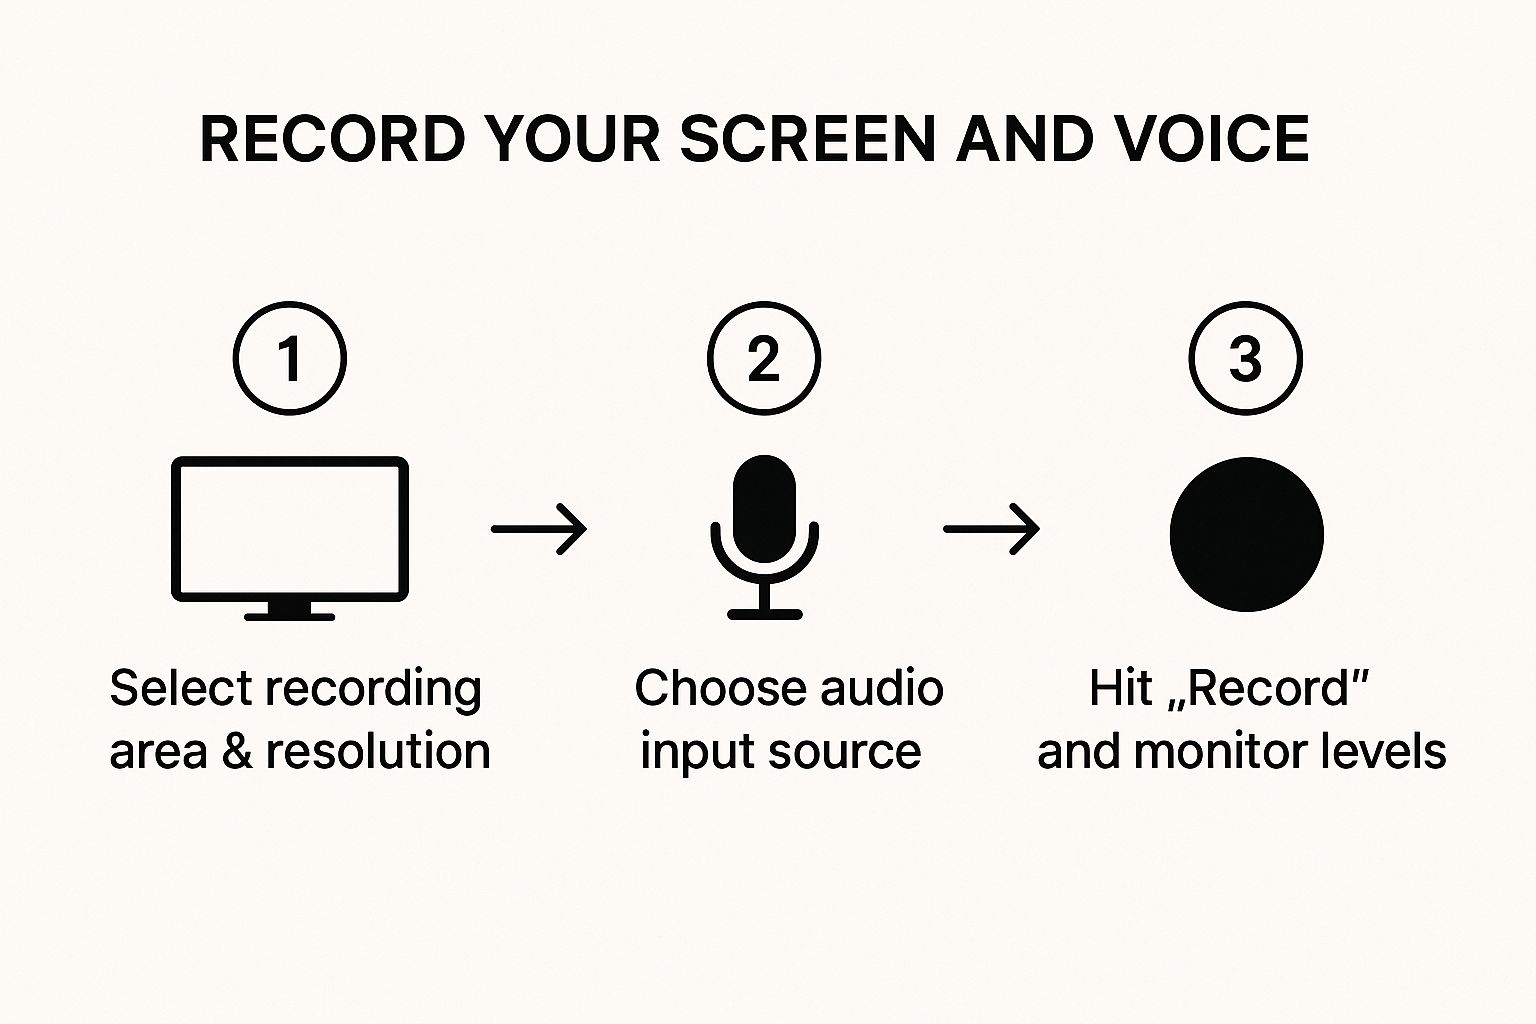
Setting Up Your First Recording
Before you hit that big red button, you just need to make a few quick decisions to tell Screendesk exactly what you want to capture.
- Pick Your Recording Area: Do you need the whole screen, just one application window, or a specific part of the screen? I find that for most tutorials, a custom region is best because it keeps your viewers focused on what matters.
- Select Your Microphone: Just use the dropdown to choose your external mic. You'll see a little audio meter jump when you talk, which is a great visual confirmation that it’s picking up your voice.
- Adjust Video Quality: You can choose your resolution here. While 1080p looks fantastic, don't overlook 720p. It's usually more than enough for sharing online and keeps your file sizes much more manageable.
Here's a pro tip I've learned the hard way: always do a quick 5-second test recording. So many people skip this, but it saves you from recording a whole 20-minute video only to find out your audio was muted or your screen was cropped wrong.
Once you've made these choices, you're ready to go. You can even use the annotation tools while you're recording to draw or add highlights right on the screen, which is perfect for calling out important details.
When you're all done, just hit the stop button. Your video is saved instantly and ready to share. It's really that straightforward.
Polishing Your Recording: From Good to Great
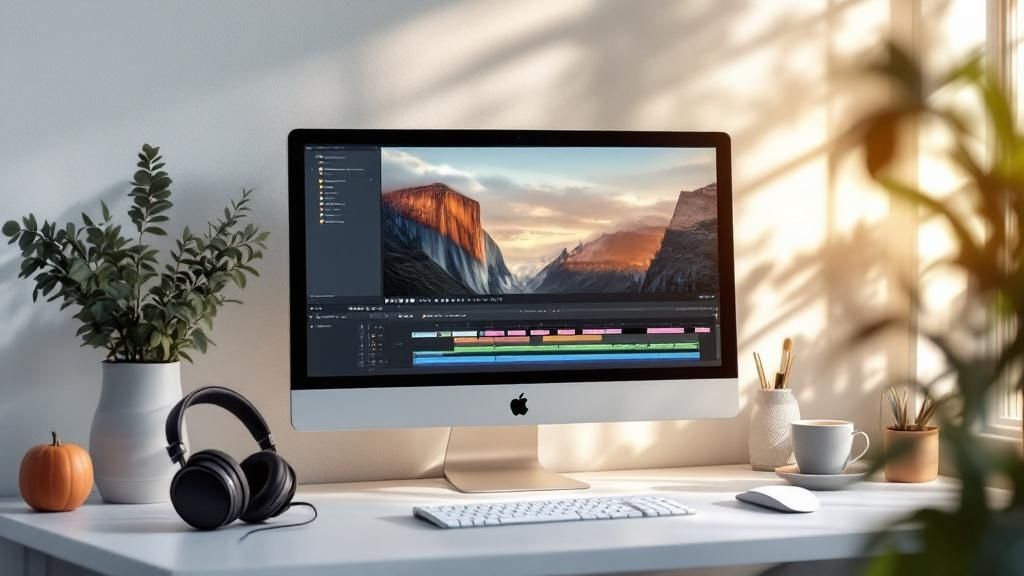
So, you've hit "stop" on your screen recorder. That's a great start, but the raw footage is just the clay. Now it's time to sculpt it into something polished and professional that people will actually want to watch. This is where a little editing makes all the difference.
The first and easiest win? Trimming the fat. Let's be honest, nobody needs to see the first few seconds of you getting your mouse in the right spot or the awkward fumble to end the recording. Snipping off the start and finish is a simple move that instantly makes your video feel cleaner.
After that, think about the flow. We've all been there—you pause for a little too long to remember what to say next, or the cat decides to jump on your desk. Cut those moments out. These small tweaks tighten up the pacing and show you respect your viewer's time, making the whole experience feel much more professional.
Guiding Your Viewer's Eye
Once the basic cleanup is out of the way, you can start adding effects that direct attention where it needs to go. This is especially crucial for software demos or tutorials where you're trying to highlight specific on-screen actions.
Here are a few of my go-to techniques:
- Zoom and Pan: This is your best friend for focusing attention. When you’re talking about a tiny button or a specific menu item, zoom right in on it. It makes it impossible for the viewer to get lost.
- Annotations: A simple arrow, a circle around a key metric, or a highlighter effect can work wonders. While Screendesk lets you do some of this on the fly, adding more in post-production can really clarify complex steps.
- Subtle Transitions: Forget the flashy star wipes. A simple fade-in at the beginning and a fade-out at the end adds a touch of class without looking amateurish.
Think of editing like tidying up a room before guests arrive. You're not rearranging all the furniture; you're just clearing away the clutter so the important stuff is easy to see. A clean, thoughtful edit makes your content easier to follow and much more impactful.
Finally, think about how you package the video. A simple title card at the beginning or an outro with a clear call to action can seriously improve how your video performs. When it's time to export, stick with a universal format like MP4. This ensures your video will play flawlessly, whether you're uploading it to YouTube or sharing it internally on your company's knowledge base.
If you want to dive deeper into creating engaging content, check out our other tips on how to screen record video like a pro.
Common Questions About Screen and Voice Recording
When you first start recording your screen and voice, you’re bound to run into a few questions. I see the same ones pop up all the time. Getting these sorted out from the get-go will save you a ton of headaches and help you make better videos right away.
Let's dive into some of the most common hurdles I've seen people face.
A big one is cost. People often ask, "Can I do this for free?" The short answer is yes. Your computer already has built-in tools for this—both Windows and macOS offer basic screen capture. They're okay for a quick, no-frills recording, but they can't touch the quality and features you get with specialized software. Screendesk, for example, has a powerful free version that's a huge step up.
Next up is sound quality. You don't need a high-end studio to get clear audio, I promise.
The single best thing you can do for your audio is to use headphones with a built-in microphone. It’s a simple trick, but it moves the mic closer to your mouth and away from your laptop's fan, which cuts down on echo and background noise instantly.
Also, do yourself a favor and always record a quick test clip in a quiet room. A 10-second check can save you from re-recording a 10-minute video.
Technical and Practical Concerns
"What's the best video format?" I get this one a lot. For almost anything you'll do online, MP4 is your best bet. It’s the gold standard because it gives you a great mix of high quality and a small file size, so it plays smoothly everywhere. Most screen recorders, including Screendesk, default to MP4, so you probably won’t even need to touch the settings.
Finally, there’s the classic problem of pop-up notifications wrecking a perfect take. Before you hit record, always turn on "Do Not Disturb" or "Focus Mode." It's a lifesaver.
And once you've got that perfect recording, you might want a written version of what you said. Looking into the best speech to text for Windows apps can be a real game-changer for your workflow.
Ready to create crystal-clear screen recordings without the hassle? Screendesk provides all the tools you need to record, share, and resolve issues faster. Start for free on screendesk.io and see the difference it makes.