
Knowing how to record your screen with a voiceover is one of the simplest ways to communicate clearly and effectively. It turns what could be a wall of confusing text into a straightforward visual guide. Honestly, it's a game-changer for everything from training your team to helping out customers.
Why Bother Recording Your Screen With Voice?
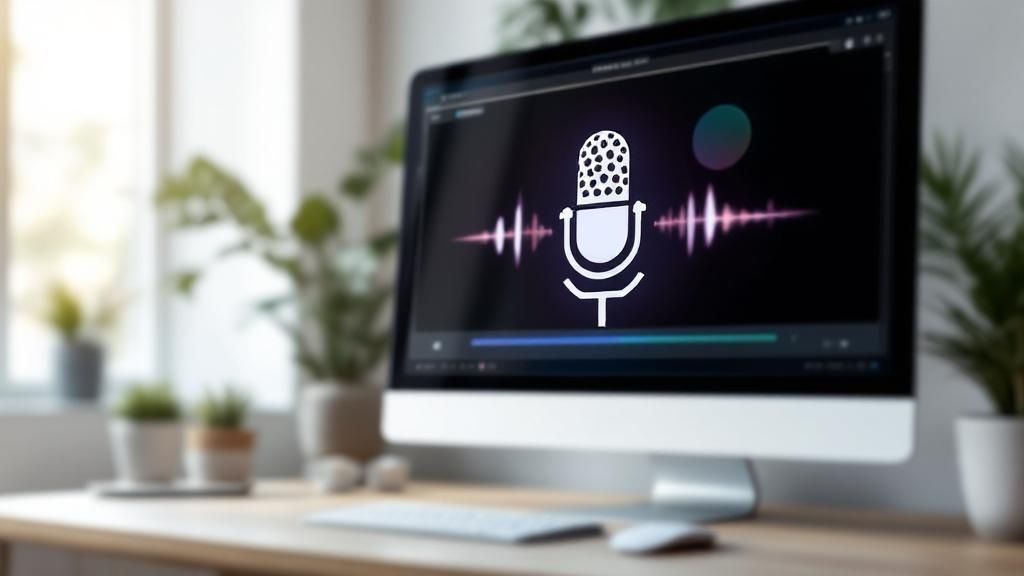
Screen recording isn't just a techy feature; it's a powerful way to connect and get your point across. When you add your voice to a screen capture, you're blending visual proof with a personal explanation. That combination is miles more effective than just text.
Think about the last time you tried to explain a software bug over email. It probably turned into a long, frustrating back-and-forth that wasted everyone's time. A quick screen recording with you talking through the problem? That shows the exact issue in seconds, adding context that words alone just can't provide.
I've seen this technique make a huge difference in so many professional settings:
- Employee Onboarding: You can build a whole library of tutorials that walk new hires through your company’s software, step by step. No more repeating yourself.
- Product Demos: Guide potential customers through your product’s best features. It makes your pitch feel more personal and way more convincing.
- Technical Support: Instead of writing out instructions, just show a customer exactly how to fix their issue. It cuts down on support ticket time and leaves people much happier.
The numbers back this up, too. A whopping 72% of consumers say they'd rather learn about a product by watching a video. And it's not just customers; 87% of marketers are using video in their strategies. This shift shows just how vital video-based content has become. If you want to dive deeper, you can explore more data on AI and video trends to see the full picture.
The bottom line: Learning to record your screen with clear audio isn't just for YouTubers. It's a fundamental communication skill that saves time, cuts down on confusion, and helps you build a real connection with your audience—whether that's a new teammate or a potential client.
By adding your voice, you bring personality and empathy to what could be a very dry, impersonal demonstration. It’s the difference between handing someone a map and actually walking them to their destination. That human touch is what makes your message stick.
Choosing Your Screen Recording Toolkit
Finding the right software to record your screen with voice can feel a bit overwhelming at first. The market is packed with options, from free tools already on your computer to feature-rich professional programs. The best choice really boils down to one simple question: what are you trying to accomplish?
A quick, informal tutorial for a coworker has very different needs than a polished marketing video for your website. Let's walk through the options so you can find the perfect tool for the job.
Built-in Tools vs. Dedicated Software
Most computers come with a basic screen recorder baked right in. On Windows, for instance, the Xbox Game Bar is surprisingly handy for quick captures. It’s free, it’s already there, and it’s great for those simple, one-off recordings where you just need to show someone how to do something.
But when you need a more professional look and feel, dedicated software is where you'll want to turn. These tools are built from the ground up for recording and give you a level of control that the built-in options just can't match.
We're talking about features like:
- Advanced Editing: Easily snip out mistakes, add text overlays, or highlight your cursor to guide your viewer's eye.
- Higher Quality Output: Dial in the exact video resolution, frame rate, and audio quality for a crisp, professional final product.
- Live Annotation: Draw on your screen while you're recording to really drive a point home.
Finding the Right Fit for You
The screen recording space has options for everyone, from teachers and trainers to marketers and developers. Big names like OBS Studio, Camtasia, and Screendesk serve different needs, with prices ranging from free to around $249 for a professional license. If you want to dig deeper, you can discover more insights about screen recording software options to see how the top contenders stack up.
To make things a bit clearer, here's a quick comparison of some popular tools to help you see where they shine.
Screen Recording Software Comparison
| Tool | Ideal User | Key Features | Pricing Model |
|---|---|---|---|
| Screendesk | Support teams, marketers, and educators | Asynchronous video messaging, team collaboration, annotations, custom branding | Freemium, Paid Tiers |
| Camtasia | Professional content creators, trainers | Advanced video editor, templates, animations, quizzes, high-quality output | One-Time Purchase |
| OBS Studio | Live streamers, gamers, technical users | Highly customizable, scene composition, live streaming, open-source | Free |
| Xbox Game Bar | Casual Windows users for quick clips | Basic screen & audio capture, built into Windows, simple interface | Free (Built-in) |
Ultimately, the right tool depends on your specific goals and audience.
My Two Cents: For simple, internal tasks, the free built-in tools work just fine. But for anything you're putting in front of customers or that needs a polished touch, investing in dedicated software like Screendesk is a no-brainer. It gives you the professional quality and control you need.
The image below offers a great visual summary of what to consider when making your choice.
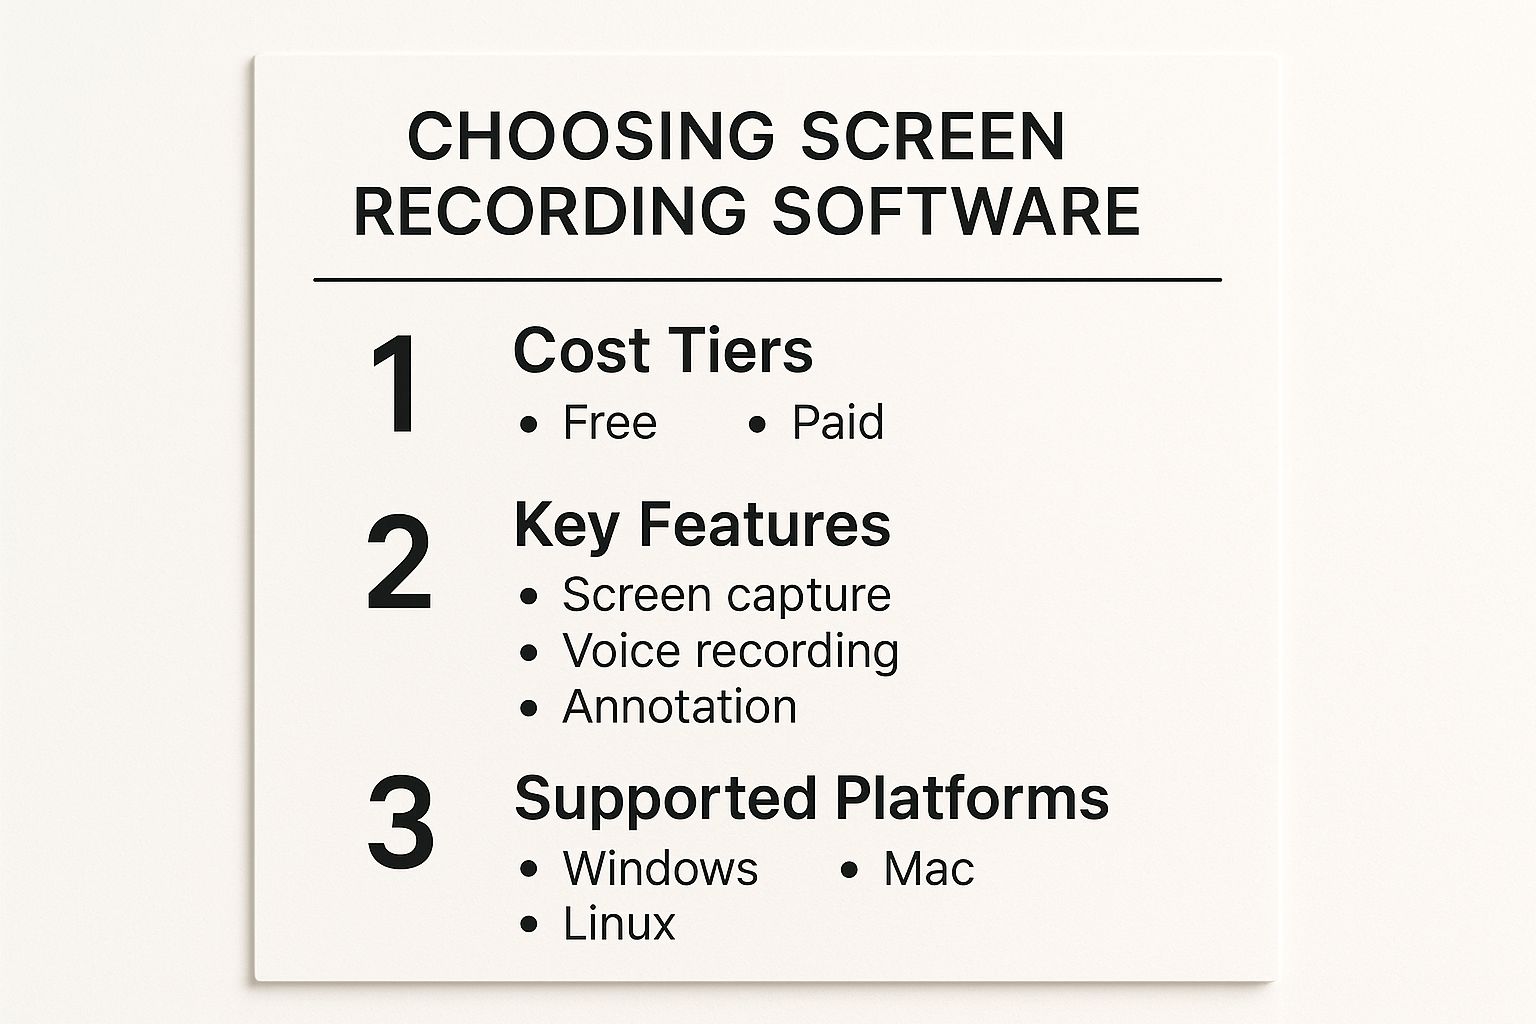
As you can see, it's all about balancing cost with the features you absolutely need, like annotation or high-definition output. Choosing wisely from the start means you'll be able to create effective, engaging recordings without getting bogged down by technical headaches later.
Preparing Your Setup for a Flawless Take
I’ve learned the hard way that a great video really starts long before you ever hit "record." Taking just a few minutes to get your digital and physical space in order is the secret to getting it right on the first try. It’s what separates a professional recording from one that’s full of frustrating little mistakes that force you to start over.
First things first, clean up your screen. Close every browser tab, application, and folder that isn't essential for your recording. You want your audience to focus on what you're showing them, not get distracted by a random email notification popping up.
Speaking of which, do yourself a huge favor and turn on your computer’s "Do Not Disturb" or "Focus" mode. This silences all those system alerts and pop-ups, guaranteeing your walkthrough is smooth and professional. A little prep here saves a ton of editing headaches later.
Audio and Narration Prep
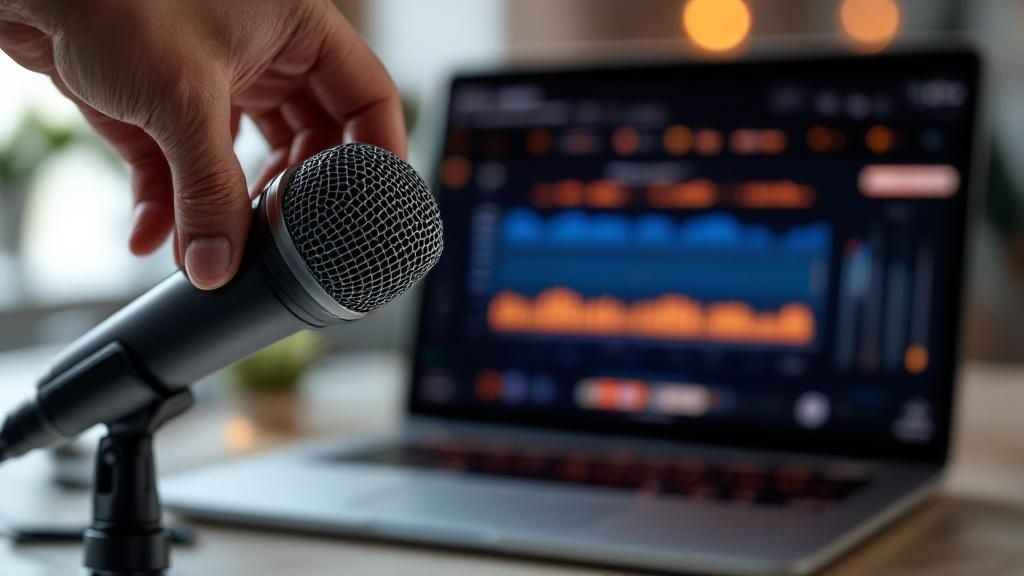
When you record your screen with voice, the audio quality is half the battle. Your sound is just as crucial as what’s happening on screen. Before you start, you need to decide what audio sources you actually need to capture.
It usually comes down to two things:
- System Audio: These are the sounds your computer makes—think app notifications, clicks, or the audio from a video you're playing.
- Microphone Audio: This is your voice, coming through your computer's built-in mic or, preferably, an external one.
If you're making a software tutorial, you'll almost always want your microphone on and the system audio off. But if you're showing off something that has its own sound, like a video game or a music editing app, you'll probably need both.
Once you’ve figured that out, find a quiet space. Background noise from traffic, barking dogs, or family members can ruin an otherwise perfect take. Do a quick test recording to check your microphone levels. Is your voice coming through clearly, or is it too loud and distorted? A simple mic check can save you from having to scrap an entire video.
Pro Tip: You don't need to write a full-blown script, but trust me, jotting down a few key bullet points is a game-changer. It keeps you on track, prevents those awkward "umms" and long pauses, and makes your narration sound much more confident and polished.
Recording Your First Video on Windows
Ready to make your first recording? You might be surprised to learn you can get started right now, without installing a single thing. Millions of Windows users have a surprisingly powerful screen recorder tucked away in their operating system, perfect for when you need to record your screen with voice on the fly.
This handy tool is the Xbox Game Bar. To bring it up, just press the Windows key + G on your keyboard. An overlay with all the recording controls will pop right up over your current screen.
This interface gives you everything you need for a basic recording. You’ll find options for taking a quick screenshot, capturing the last 30 seconds of action, and of course, starting a brand-new video.
Locating the Capture Controls
Before you jump in, take a second to check your audio settings. Look for the Capture widget on the overlay—it has a small microphone icon. If you want to narrate your video, make sure that mic isn't muted. A simple click toggles it on or off.
This screenshot shows exactly what you’ll see. The Capture widget is front and center.
You can’t miss the main controls: the big round record button, the camera icon for screenshots, and the microphone toggle. Everything is designed for quick access.
The native recording tools in Windows 10 and 11 have made it one of the go-to platforms for screen capture. You can easily adjust video quality and audio settings without needing to hunt for third-party software.
The best part? You can go from having an idea to a finished recording in just a few minutes. It's a fantastic, no-fuss entry into screen recording.
While the Game Bar is great for quick, simple tasks, you'll eventually want more control for polished, professional videos. When you're ready to explore more powerful solutions, our guide on how to record on-screen video breaks down some more advanced options.
Pro Tips for Crisp Audio and Clear Video
Alright, now that you've got the basics down, let's talk about the little things that make a huge difference. You don't need a Hollywood budget to create a polished video. It really just comes down to paying attention to a few key details that your viewers will definitely notice.
Let's start with your audio. Your computer’s built-in mic might work in a pinch, but the single best investment you can make is an external USB microphone. The jump in quality is massive. It's the difference between sounding like you're in a cave and having your voice come through warm and clear.
Improving Your Audio and Narration
Want to take that audio to the next level? Get a pop filter. It’s a simple, inexpensive screen that you place in front of the mic. It magically stops those harsh "p" and "b" sounds from creating an annoying "pop" every time you speak. It's a small detail that screams professionalism.
When you're narrating, try to maintain a clear and even pace. It’s natural to speed up when you’re focused or a bit nervous, but take a deep breath and speak deliberately. Your audience will have a much easier time following along.
Key Takeaway: I can't stress this enough: bad audio will kill a good video. People are surprisingly forgiving of slightly blurry visuals, but they will click away in a heartbeat if the sound is painful to listen to. Clear audio is non-negotiable when you record screen with voice.
Enhancing Your Visuals
Now for the visual side of things. A few simple tricks can make your screen recording much easier to follow. Before you even hit record, think about your resolution. For most uses, like a YouTube tutorial or an internal training video, 1080p (1920×1080) is the sweet spot. It provides a sharp image without creating a massive file.
As you record, be conscious of your cursor. Your mouse is your pointer, so guide your audience's eyes with smooth, intentional movements. Avoid zipping it all over the screen, which can be really distracting. Think of it as your virtual laser pointer. If you're ready to dive deeper, our guide on how to record screen with voice over has even more advanced tips.
Lastly, don't shy away from a little cleanup after you're done. Just about every recording has some dead air or fumbling at the start and finish. A quick trim in any basic video editor can snip off those awkward moments, making your final video feel tight and professional from start to finish.
Answering Your Top Screen Recording Questions
Even with the best tools at your fingertips, a few questions always come up when you first start to record your screen with voice. Let's clear up some of the most common hurdles so you can feel confident and get back to creating great content.
How Do I Get Rid of Annoying Background Noise?
Nothing tanks a good recording faster than bad audio. The simplest solution is often the best: find a quiet spot. Move away from any humming appliances, open windows, or noisy coworkers.
Investing in an external microphone will also make a world of difference. Your laptop's built-in mic is designed to pick up everything, but a dedicated mic focuses just on your voice.
Here's a pro tip I've used countless times: record in a room with soft furnishings. A closet full of clothes, a carpeted bedroom, or a room with heavy curtains can work wonders. These surfaces absorb sound, cutting down on that hollow, echoey feel you get in an empty room.
Can I Record My Voice and Computer Sounds at the Same Time?
Absolutely. Modern screen recorders like Screendesk are built for this. You can easily capture your own narration while also recording any sounds coming from your computer.
This is a must-have for things like software demos where you want to include application alerts, or when you're recording a meeting. If you're tackling video calls, our guide on how to record a video call dives into the specifics for that exact situation.
What’s the Best File Format to Use?
The "best" format really boils down to how you'll use the final video.
- MP4: This is the gold standard for a reason. It gives you fantastic quality without creating a massive file, which is perfect for uploading to YouTube, sharing on social media, or posting to your company's knowledge base.
- MOV: A high-quality format popular with Mac users, though the files can be on the larger side.
When in doubt, stick with MP4. It's the most compatible and versatile option for almost every scenario.
Ready to create crystal-clear screen recordings without the hassle? Screendesk offers all the tools you need to capture, annotate, and share your screen with perfect audio. Start recording for free today at Screendesk.io.