
Setting Up Your Recording Space Like a Content Creator
Creating great screen recordings with voice over isn't magic. It's about the setup. A lot of beginners skip this part, which is a shame. I’ve watched a ton of successful content creators, and they all have similar prep routines. Honestly, your recording space matters even more than fancy equipment. Small changes can make a huge difference.
Think about it: YouTubers don’t just hit record. They optimize their computers to avoid lag. Podcasters obsess over microphone placement to get that rich, professional sound. You need to do the same with your space. Check out this article: How To Arrange A Small Office Room. Even simple things like managing background noise, a clean desktop, and a pre-recording checklist can elevate your work. These little details are what separates amateur recordings from professional ones.
For example, minimizing background noise doesn't mean you need a professional studio. Just closing windows, silencing notifications, and letting your family know you’re recording is often enough. A tidy desktop also streamlines your screen recording workflow. It’s less distracting, so you can focus on delivering clear and concise information.
The demand for screen recording software has exploded, especially since COVID-19. The global market for screen capture software (including screen recording tools) is predicted to hit $10.92 billion by 2025, with a 14.0% CAGR. This just shows how important video content has become, especially for education and training, where voice over is key for engagement. Learn more here. Audacity is a great tool for improving audio in screen recordings with voice over. Here's a look at the Audacity interface: It's super user-friendly, and you can actually see the audio waveform, making editing easier. Features like noise reduction and equalization really help create professional-sounding voice overs. Don't forget pre-recording checks, either. Testing your microphone and software beforehand will save you a lot of frustration and re-recording later.
Finding Recording Software That Actually Delivers
Picking the right screen recording software with voice over can be a real headache. Everyone claims to be the best, but what actually matters? I've chatted with tons of content creators and picked up some valuable insights. They’ve used everything from basic free tools to full-blown premium suites, so I've gotten a feel for what works beyond the marketing fluff.
Some creators swear by the flexibility of OBS Studio, even though it’s got a bit of a learning curve. Others prefer Camtasia’s more user-friendly interface, especially for tutorials and educational content. Here’s a handy visual guide that captures the essence of choosing the right tool:
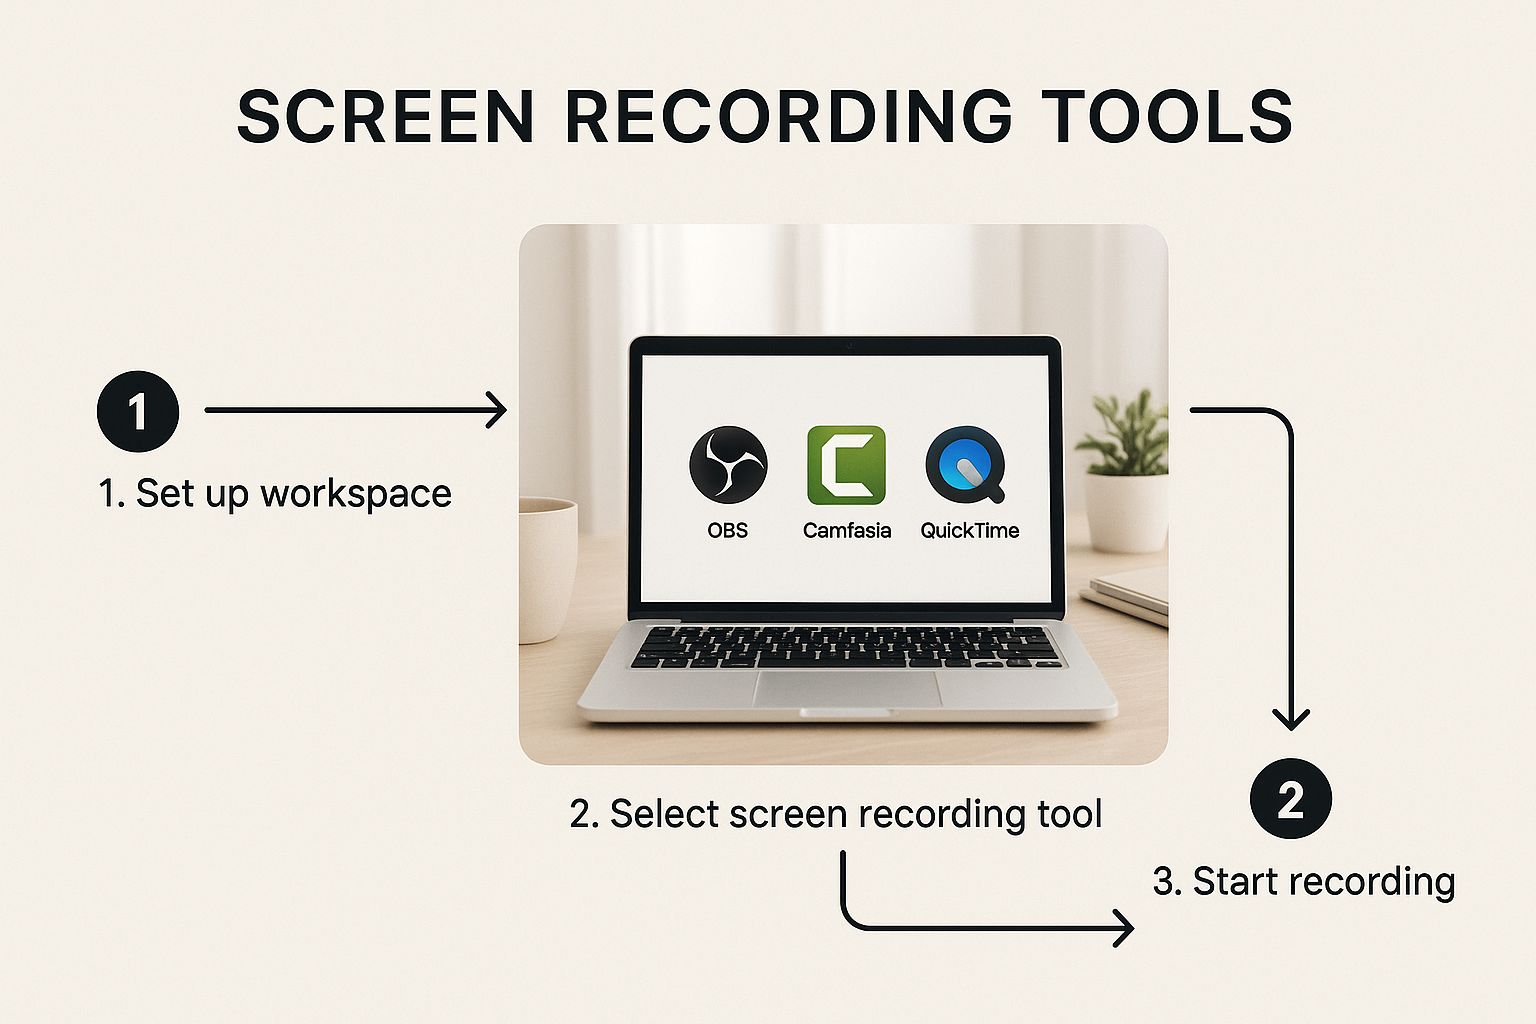
The infographic shows how organized successful creators are with their recording setup. Dedicated workspaces for each program highlight the importance of a structured workflow. Speaking of which, you might find this article on screen recording useful.
Free software often has hidden downsides, like limited features or those dreaded watermarks. If you’re serious about content creation, paid options can offer better value in the long run. It's all about finding the features you actually need, not just getting dazzled by bells and whistles you’ll never use. Take a look at this screenshot from the OBS Project website:
Even the landing page gives you a glimpse of the advanced features, hinting at a powerful tool under the hood. It's perfect for creators who want deep customization.
Here's an insider tip: tweaking certain settings can drastically improve your recording quality. These are the little secrets tutorials often miss, but they make a huge difference. Trust me.
To help you navigate the options, I've put together a comparison table:
Screen Recording Software Comparison: Feature comparison of popular screen recording tools including price, voice recording quality, editing capabilities, and best use cases
| Software | Price | Voice Quality | Editing Features | Best For |
|---|---|---|---|---|
| OBS Studio | Free | Good, customizable | Basic, requires external software | Live streaming, advanced users |
| Camtasia | Paid | Excellent | Built-in, user-friendly | Tutorials, presentations, educational content |
| ScreenFlow (Mac) | Paid | Excellent | Robust editing suite | Mac users, high-quality video production |
| Loom | Freemium | Good | Basic trimming | Quick recordings, sharing, internal communication |
The table gives you a quick overview of some popular options. As you can see, each tool caters to different needs and budgets. OBS Studio is amazing for power users, while Camtasia is ideal for polished presentations. ScreenFlow is a Mac powerhouse, and Loom shines for quick, shareable recordings.
Choosing the right software ultimately depends on your individual needs and workflow. Don’t be afraid to experiment and find what works best for you!
Recording Techniques That Keep People Watching
The difference between a captivating screen recording and one that’s never watched often comes down to technique, not fancy equipment. Think about your favorite online tutorials. It's not just about clear audio and smooth visuals, right? It's the way they keep you hooked.
They understand pacing, emphasizing key points with their voice and using pauses effectively. These pauses, done well, actually help you understand – they don't create awkward silences. This is especially important for longer recordings.
The best creators structure their content with natural breaks to prevent viewer fatigue. Imagine a two-hour tutorial without a single pause – yikes! They also maintain consistent energy, making even complex topics approachable. Smooth transitions between sections make the whole experience seamless.
Great tutorials are kind of like a well-written song – everything flows. And even the pros make mistakes! But they handle them gracefully, sometimes even turning a slip-up into a learning opportunity. This makes them relatable and builds trust.
Speaking of tools, when choosing screen recording software, check out the voice-to-text features for voice overs. A good resource for this is this list of the best voice to text software. Voice overs are becoming increasingly important in screen recordings. You can see this in the projected growth of the screen capture software market (including tools for screen recording with voice over) to $18.25 billion by 2029, with a CAGR of 13.7% from 2025 onward. More info here. This growth is driven by the rise of video content and the integration of AI-powered features, leading to more advanced voice over capabilities.
Finally, notice how skilled creators break complex ideas into digestible chunks. They modulate their voices to keep your attention – sometimes faster, sometimes slower for emphasis. This dynamic delivery, combined with genuine passion, is what really keeps people watching.

Voice Over Techniques That Sound Effortlessly Professional
Your voice is the key to connecting with your audience in screen recordings with a voice over. Think about how captivating Morgan Freeman's voice is—it can make any topic engaging. While we can’t all possess his legendary tones, we can use smart techniques to make our voice overs sound natural and authoritative.
One mistake I see all the time is treating a script like it's set in stone. Instead, think of it more as a guide. Hit the key points, sure, but allow yourself to speak conversationally. That natural flow is way more engaging for your viewers. For example, if your script mentions a cool feature, don't just read the description. Tell a quick story about how that feature actually helped you solve a problem.
Breathing is another often-overlooked element, especially when you’re recording longer pieces. Breathing right prevents vocal fatigue and those awkward, jarring pauses that kill the flow. Think of it like running a marathon—pacing is everything. I find taking short, silent breaths between sections really helps. It gives you a mental reset and prevents your voice from getting strained.
Then there's the challenge of technical terms. You want to be clear without overwhelming your audience. I like to use analogies and real-world examples to make complex concepts click. Explaining “bandwidth”? Compare it to a highway – more lanes mean more data can flow. Makes it easy to digest, right?
Consistency is key, too, especially if you're recording over multiple sessions. It’s like a TV series – you want consistent tone and performance across all episodes. This creates a polished, professional feel for the whole project. Want to learn more? Check out our article on screen recording with voice over.
Finally, don't underestimate the power of post-production. Even simple enhancements can make a huge difference. Free tools like Audacity offer noise reduction and equalization, polishing your audio without breaking the bank on expensive studio equipment. These little tweaks add a final layer of professionalism that really elevates your work.
Editing Strategies That Enhance Without Overwhelming
Think of your raw screen recording and voiceover like a diamond in the rough. It has potential, but it’s smart editing that truly makes it shine. The key is to focus on the edits that genuinely add value, not the ones that just eat up your time. Having spent a good amount of time observing successful content creators, I’ve picked up a few practical editing tips I'm happy to share.
One common thread among these creators is their attention to clean audio. Seriously, removing those “umms,” “ahhs,” and awkward pauses makes a massive difference. You want your delivery to sound natural and conversational, not like a robot reading a script. Even I stumble over words sometimes! My trick? I just pause, rephrase, and keep recording. Then, I fix it in the edit. Super easy. If you're looking to polish your voiceover delivery, check out this helpful guide on how to do a video voice over.
Visuals are equally important. Adding callouts and highlights can subtly guide the viewer's attention and enhance understanding. However, don't go overboard! A cluttered screen is distracting. It's like seasoning food – a little enhances the flavor, but too much ruins the dish.
Smooth transitions between sections are also vital for maintaining viewer engagement. Imagine watching a movie with jarring cuts – it would be a disjointed mess! The same applies to screen recordings. Use transitions to create a natural flow. And if you recorded your voiceover separately (which I often do), syncing it perfectly with your screen capture adds a professional touch that viewers appreciate.
You don't need to master every advanced editing technique right away. Start with the fundamentals: clean audio, clear visuals, and smooth transitions. These core elements have the biggest impact on the viewer experience. Trust me, the simple stuff often makes the biggest difference. Once you've nailed these down, then you can explore more advanced editing features.
Essential Editing Workflow Checklist
To help you stay organized and efficient, I've put together a handy checklist based on my own editing workflow. This table breaks down key tasks by priority and complexity, so you can focus on what matters most.
| Task | Priority Level | Time Required | Complexity | Impact on Quality |
|---|---|---|---|---|
| Clean up audio (remove ums, ahs, pauses) | High | Medium | Low | High |
| Sync voiceover with screen capture (if applicable) | High | Medium | Medium | High |
| Add callouts/highlights | Medium | Low | Low | Medium |
| Add transitions between sections | Medium | Low | Low | Medium |
| Advanced editing (color correction, etc.) | Low | High | High | Medium |
This checklist ensures you address the most critical aspects of editing first, maximizing your impact without getting bogged down in complex details. Remember, you can always come back to the less essential tasks later.
Solving Recording Problems Before They Ruin Your Project
Creating screen recordings with voice over can be surprisingly tricky. I've learned through countless recording sessions (and plenty of headaches) that troubleshooting is key to a smooth process. Even seasoned creators run into snags, so consider these tips from someone who’s been there.
One common issue? Audio synchronization. In longer recordings especially, a tiny drift can make your voiceover sound completely detached from the visuals. Double-check your software settings and hardware configuration. Sometimes a simple restart fixes syncing problems like magic. Also, ensure you've got a solid internet connection if your software uses cloud processing for audio.
Another frustration is quality inconsistencies between platforms. A crisp recording on one machine can look pixelated or sound muffled on another. I once had a perfect recording on my laptop that sounded awful on a different system. The culprit? Different audio drivers. My advice: test your recordings on multiple devices before you finalize anything. This goes for exporting and sharing too. Some video formats compress audio more aggressively, so watch out for that.
What about those unexpected interruptions? The dog barks, the phone rings, you suddenly need to sneeze mid-sentence. It happens. Don’t give up on the entire recording. Editing software can usually salvage these moments. Learn to use noise reduction tools and make clean cuts to minimize interruptions, so you can maintain momentum without starting over. This helps keep your energy up and your tone consistent. Noise gates can also be a lifesaver, automatically muting background noise below a certain level.
Finally, let’s talk about performance. Choppy recordings and system crashes are a nightmare. Optimize your computer before you hit record. Close unnecessary applications and make sure your system is up to date. A dedicated hard drive for recording files can also significantly improve performance. Trust me, these precautions will save you hours of frustration.
Elevating Your Screen Recording Mastery
Ready to create screen recordings with voice overs that truly stand out? I've learned over the years that simply knowing the basics isn’t enough in today’s competitive online world. You need to think about your style, keep things consistent, and, most importantly, listen to your audience.
One of the biggest differences I see between amateur and pro recordings is how smoothly multiple video sources are woven together. This could mean adding a webcam feed to make things more personal, or effortlessly switching between different application windows during a tutorial. Think of those cooking shows that jump from close-ups of ingredients to wide shots of the chef – that’s the kind of visual engagement you want. If you’re looking to brush up on your screen recording fundamentals, our screen recording tutorial is a great resource.
Intros and outros are like the secret sauce of a great recording. They’re your chance to reinforce your brand and create something instantly recognizable. Think of them as your video signature. A good intro sets the stage and builds anticipation, while a solid outro encourages viewers to subscribe or check out more of your content. This is especially crucial if you’re creating a video series.
Creating a sustainable recording workflow is like finding your groove. It helps prevent burnout and ensures consistent quality over time. This means having a dedicated recording space, keeping your files organized, and establishing a clear editing process. It’s tempting to record tons of videos at once, but that can make editing a nightmare. Batching tasks, like recording all your voiceovers together or editing similar videos in one go, makes the whole process so much smoother.
Don’t be shy about asking viewers for feedback—it’s incredibly valuable. They can offer insights you might never have considered. For instance, a viewer once told me my mouse cursor was too small to see clearly. I hadn’t even noticed, but that tiny change made a huge difference to the viewing experience.
By focusing on these key strategies – integrating multiple video sources, crafting compelling intros and outros, building a sustainable workflow, and incorporating feedback – you can take your screen recordings from simple tutorials to professional-quality content that truly connects with your audience. And speaking of tools that can help, check out Screendesk. It’s a powerful platform for seamlessly integrating screen recordings, live video calls, and video sharing directly into your helpdesk.