Why Tutorial Videos Are Transforming Digital Learning
Tutorial videos have fundamentally changed how we learn. This isn't just a passing trend; it's a reflection of how our brains process information. We remember 95% more from video than from text. This highlights the power of visual learning and its impact on knowledge retention. Complex ideas become easier to grasp when presented visually.
Tutorial videos also cater to different learning styles. Visual learners appreciate demonstrations, auditory learners absorb information through narration, and kinesthetic learners can actively follow along. This makes tutorial videos a versatile and effective educational tool. For more tips on training videos, check out this helpful resource: How to master training videos.
The Power of Engagement and Accessibility
The accessibility of tutorial videos is another key factor in their popularity. Anyone with internet access can tap into a huge library of information on practically any topic, anytime, anywhere. This democratizes learning, allowing individuals to learn at their own pace and review material as needed. However, creating truly impactful tutorials requires careful planning and execution.
The demand for these videos isn't just anecdotal; it's backed by research. The global demand for educational and tutorial videos has grown substantially. Over 50% of internet users worldwide watch educational or tutorial videos weekly. 25.5% specifically watch educational videos, and another 25% watch tutorials. This resource provides further statistics on e-learning video trends. This widespread usage shows how important tutorial videos are in modern learning.
Building Authority and Community Through Tutorials
Beyond individual learning, tutorial videos are changing how businesses connect with their audiences. Businesses using video enjoy 66% higher conversion rates. This shows how video doesn't just educate; it also persuades and encourages action. By offering valuable tutorials, businesses position themselves as experts and build trust with potential customers.
Tutorial videos also create community. Creators can interact directly with their audience, answer questions, and cultivate a loyal following. This interaction provides valuable feedback, helping creators refine their content and meet their audience's specific needs. This ability to build a dedicated community around a niche topic is a powerful example of the transformative impact of tutorial videos. Creating high-quality tutorials is a great tool for building brand authority and driving engagement.
Crafting Your Tutorial Blueprint That Actually Works

The success of your tutorial video depends heavily on the planning you do beforehand. Before even thinking about hitting that record button, top creators take the time to truly understand their audience's struggles. They often discover problems viewers haven't even realized they have. This pre-production planning makes all the difference.
This initial groundwork is what separates truly helpful tutorials from those that are quickly forgotten. Understanding your audience is the cornerstone of creating a tutorial that actually works.
Understanding Your Audience's Pain Points
Think about it: a tutorial on a specific software feature is only helpful to those struggling with that particular feature. You need to understand the why behind the search for "how to create tutorial videos". Why are people looking for this information? Are they trying to educate their customers, train their employees, or build a personal brand?
Figuring out the motivation behind the search helps you tailor your tutorial to give viewers exactly what they're looking for. Understanding your audience’s skill level is also important. This ensures your content doesn’t talk down to them or fly right over their heads.
For example, a video editing tutorial for beginners should stick to the fundamentals and basic software navigation. A tutorial for more experienced editors, on the other hand, can delve into advanced techniques and special effects. This targeted approach ensures viewers get the most out of your content.
Structuring Your Content for Maximum Impact
Once you know your audience, it’s time to structure your tutorial. The goal is maximum comprehension and engagement. Breaking complex topics into smaller, digestible chunks prevents viewers from feeling overwhelmed. They can absorb the information at their own pace. It’s like building a house: you wouldn't start with the roof.
You start with the foundation, then the walls, and then the roof. One effective framework is the Problem, Solution, Result method. Start by clearly stating the viewer's problem. Present your tutorial as the solution, showing how it addresses the issue.
Finally, show them the positive result they can expect after following your advice. This creates a logical flow and shows the value of your tutorial.
Planning Your Tutorial
A well-structured plan is essential for creating effective tutorial videos. Using a checklist is a good way to ensure you cover all the bases. The table below provides a useful starting point for your planning.
Before the table, add a brief introduction explaining its purpose:
To help you plan effectively, we've created a checklist outlining key questions for each planning stage. Use this checklist as a guide when developing your next tutorial video.
| Planning Element | Key Questions to Answer | Importance Level |
|---|---|---|
| Target Audience | Who are you creating this tutorial for? What are their skill levels and needs? | High |
| Learning Objectives | What specific skills or knowledge should viewers gain? | High |
| Content Outline | What key points will you cover? How will you structure the tutorial? | High |
| Visuals & Demonstrations | What visuals will you use to illustrate your points? Will you include live demonstrations? | Medium |
| Call to Action | What do you want viewers to do after watching the tutorial? | Medium |
After the table, add a short conclusion summarizing key insights:
In addition to these planning elements, think about the overall tone and style of your tutorial. Will it be formal and instructional, or more relaxed and conversational? Finding the right balance makes for a more engaging and enjoyable learning experience. Remember, a well-planned tutorial sets the stage for a successful final product.
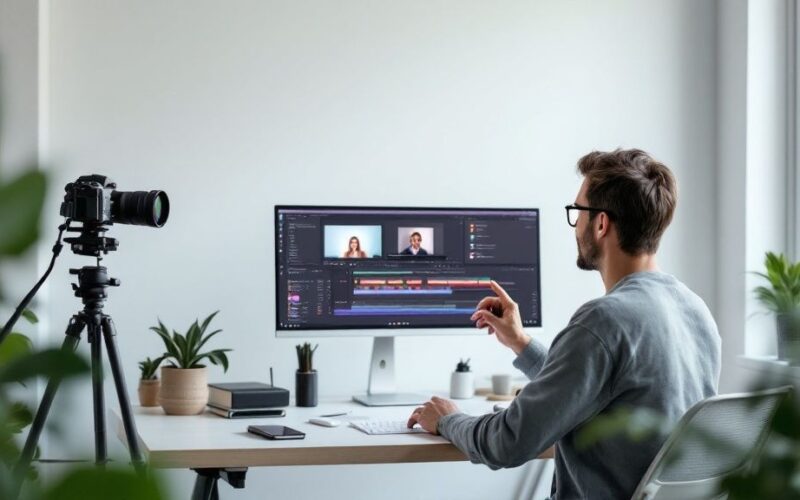
Essential Gear That Delivers Without Breaking the Bank
Forget the Hollywood myth; you don't need a fortune to create compelling tutorial videos. Many successful creators started with basic equipment. This proves that resourcefulness often beats expensive gear. This section explores how to maximize impact without emptying your wallet. We'll look at essential tools and practical setups, offering budget-conscious recommendations for high-quality tutorials.
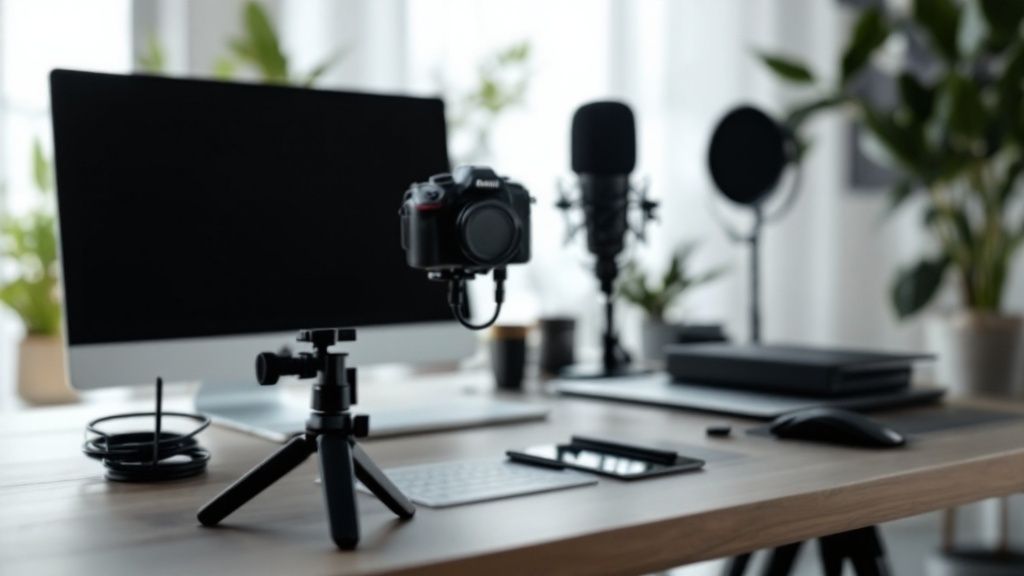
Focusing on Audio: The Unsung Hero of Tutorials
While video is visual, audio quality often makes or breaks a tutorial. Clear audio is paramount for viewer comprehension. Poor audio can be incredibly distracting. For example, background noise or muffled speech can quickly cause viewers to abandon a video. Fortunately, achieving good audio doesn't require expensive equipment.
- Budget-friendly option: A decent lavalier microphone (the kind that clips onto your clothing) can dramatically improve audio for under $50. These small microphones do a surprisingly good job isolating your voice and minimizing background noise.
- Mid-range option: USB microphones offer improved clarity and are ideal for recording voiceovers or narrations directly into your computer.
- Professional option: Condenser microphones, often used by podcasters and musicians, provide studio-quality sound. However, they come with a higher price tag.
Video Quality: Finding the Right Balance
Crystal-clear 4K video is visually appealing. However, it's not always necessary for tutorials. Focus on clear, well-lit footage that captures the essential details. The advent of AI tools has simplified the process of creating tutorial videos. An average employee could spend roughly 45 hours per month making training videos using traditional methods. Using AI platforms like Synthesia has the potential to reduce this time by approximately 34%. Find more detailed statistics here. This frees up time for content creation and audience engagement.
- Budget-friendly option: Your smartphone’s camera is likely more capable than you think. Use a tripod for stability and ensure adequate lighting.
- Mid-range option: Webcams offer good image quality and convenient connectivity for screen recordings and live demonstrations.
- Professional option: DSLR or mirrorless cameras provide greater control over depth of field and other cinematic effects, enhancing the visual appeal.
Lighting and Setting the Stage
Lighting is crucial for professional-looking videos. Natural light is your best friend, so try filming near a window. If natural light is limited, consider affordable lighting solutions.
- DIY Lighting: Use desk lamps or clamp lights with daylight bulbs for a brighter, more professional look. Position lights to illuminate your subject and minimize harsh shadows.
- Dedicated Video Lights: Affordable LED panels provide consistent, adjustable lighting and are a worthwhile investment for regular tutorial creators.
Creating a dedicated recording space, free from distractions and background noise, enhances video quality. This also ensures consistent video quality across your tutorials.
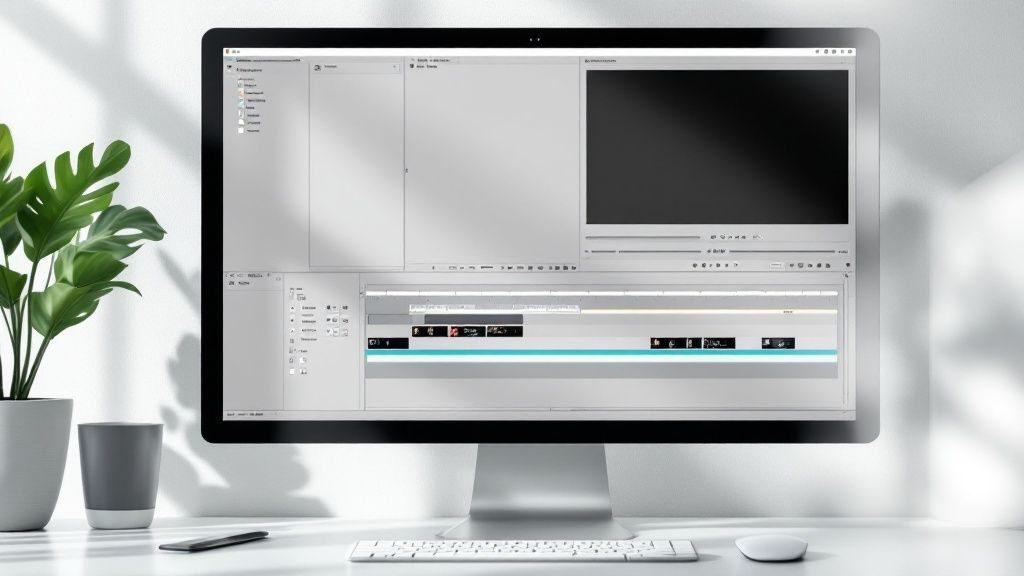
Software Solutions: Editing and Screen Recording
Choosing the right software can streamline your workflow and elevate tutorial videos. Explore options offering both screen recording and video editing capabilities. Screendesk, for example, offers screen recording and video call features. These integrate with helpdesk platforms. This makes it ideal for creating support tutorials or internal training videos.
- Free and Open-Source Software: Options like OBS Studio provide basic screen recording and editing functionality.
- Paid Software: Tools like Camtasia offer a comprehensive suite of features for creators seeking more advanced editing capabilities.
The following table compares different equipment options across various budget levels to help you make informed decisions:
Tutorial Video Equipment Comparison: Compare different equipment options across budget ranges for creating tutorial videos
| Equipment Type | Budget Option | Mid-Range Option | Professional Option |
|---|---|---|---|
| Microphone | Lavalier Microphone | USB Microphone | Condenser Microphone |
| Camera | Smartphone Camera | Webcam | DSLR/Mirrorless Camera |
| Lighting | DIY Lighting (Desk Lamps) | LED Panel Lights | Professional Lighting Kit |
| Software | OBS Studio | Camtasia | Adobe Premiere Pro |
This table provides a quick overview of how you can create professional tutorial videos on a range of budgets. The right gear and effective techniques empower you to create high-quality tutorials without overspending.
Scripting That Connects While Teaching
Creating a successful tutorial video involves more than just presenting information. It's about connecting with your viewers and effectively teaching them something new. This requires a script that is both technically accurate and resonates with the audience. Think of your script as the bridge between your knowledge and the viewer's understanding.
This means using clear language, anticipating questions, and addressing potential roadblocks.
Finding the Right Tone: Balancing Information and Engagement
One common mistake is using a robotic, overly formal tone. This can create a disconnect with viewers, making the tutorial feel impersonal. Instead, aim for a conversational style, as if you're explaining the concept to a friend. This creates a more engaging learning experience.
For example, instead of saying, "The subsequent step necessitates the utilization of the aforementioned tool," you could say, "Next, use the tool we just talked about." This small change improves how your message is received. Adding humor, when appropriate, can also enhance engagement and make learning more enjoyable.
Anticipating Viewer Questions: Addressing Potential Roadblocks
A good script anticipates viewer questions and addresses common sticking points. This proactive approach minimizes frustration and keeps viewers engaged. Imagine teaching someone to bake a cake.
Instead of just listing ingredients, you'd explain why each one is important. Similarly, in a software tutorial, explaining the reasoning behind each step, not just the how-to, leads to deeper understanding.
This means thinking from the viewer's perspective, identifying areas where they might get confused, and providing clarification within your script. Addressing these potential roadblocks helps viewers follow along and achieve the desired outcome.
Engaging Your Audience: Analogies, Storytelling, and Transitions
Effective tutorials use analogies and storytelling to explain complex concepts. Analogies simplify difficult ideas by connecting them to something familiar. For example, explaining website traffic using the analogy of water flowing through pipes can make the concept more accessible.
Creating a narrative around your tutorial, even a simple one, can make it more memorable. A tutorial on email marketing could start with a story about a business owner struggling to connect with customers.
Transitions are essential for maintaining flow. Using phrases like "Now that we've covered X, let's move on to Y" helps viewers understand the structure and follow along. This ensures each segment connects smoothly, guiding viewers through the learning process.
Scripting for a Visual Medium: Show, Don't Just Tell
Tutorial videos are a visual medium. Your script should complement the visuals, not just narrate them. If you're demonstrating software, your script shouldn't just describe what's on screen. It should add context, explain the why, and highlight key takeaways.
Think of your script as the director, guiding the viewer's attention and enhancing their understanding. This approach elevates your tutorial beyond a simple screen recording, creating a richer learning experience. A well-written script and effective visuals create tutorials that viewers will complete and recommend.
Recording and Editing That Elevates Your Message
Creating a tutorial video that truly resonates with your audience involves more than just screen recording or demonstrating a skill. It requires a thoughtful approach to recording and editing that transforms simple instruction into a compelling learning experience. This means considering pacing, visual cues, and maintaining momentum while giving viewers time to process information.
Strategic Editing for Impactful Learning
Strategic editing significantly impacts how viewers learn and retain information. Think about your video's pacing. A fast-paced tutorial can be energizing, but it can also overwhelm viewers. Conversely, a slow pace can bore viewers, especially if there's unnecessary repetition. Finding the right balance is key.
Speed up segments demonstrating repetitive actions to maintain momentum and prevent viewers from losing interest. Conversely, slow down during complex explanations to give viewers time to absorb the information. Adding visual cues, such as zooming in on important details or using on-screen text to highlight key takeaways, reinforces important concepts.
Visual Cues and Motion: Guiding Viewer Attention
Successful tutorial creators strategically use visual cues and motion to guide viewers' attention. Think of your video as a visual journey. Use techniques like motion graphics, screen annotations, and subtle animations to emphasize key points and maintain engagement.
Using B-roll footage is also effective. For example, if demonstrating software, insert short clips of the finished product. This adds visual interest and reinforces the tutorial's value. You might find this helpful: How to master screen and video recording. This can further elevate your recording process.
Balancing Quality with Sustainable Workflows
While high quality is essential, developing sustainable workflows is equally important. Many tutorial projects get derailed by perfectionism, preventing them from ever reaching their audience. Remember, the goal is to create valuable content that helps your viewers.
Focus on clear communication and effective teaching rather than unattainable perfection. This means setting realistic expectations and prioritizing core elements like clear audio, concise explanations, and helpful visuals. Video marketing, including tutorials, is highly effective. Statistics show 78% of marketing professionals report videos boosting sales, and 92% of video marketers are satisfied with their ROI. Explore this topic further. This highlights the importance of releasing your content rather than getting bogged down in editing.
Practical Workflows for Tutorial Creators
A practical workflow is crucial for consistently producing high-quality tutorials. Start by creating a detailed outline or script to act as a roadmap for recording, helping you stay focused and cover all essential points.
Next, break your tutorial into smaller, manageable segments. This simplifies recording and lets you focus on each section individually. During editing, use non-linear editing software like DaVinci Resolve or Adobe Premiere Pro to easily rearrange segments and experiment with pacing and transitions. Finally, establish a consistent editing style to create a cohesive viewing experience and build brand recognition. These practical workflows empower you to create engaging and effective tutorials.
From Amateur to Pro: The Finishing Touches That Matter
What separates a popular tutorial from one that struggles to gain traction? Often, the difference lies in the small, professional details viewers subconsciously notice. These seemingly minor elements significantly impact the overall impression of quality and expertise. This section explores those finishing touches that can elevate your tutorial videos from amateur to professional.
Creating a Consistent Visual Identity
A recognizable brand for your tutorials involves more than a catchy intro. It requires consistency. Think of popular YouTubers. Many maintain a consistent visual style throughout their videos, including intro/outro sequences, background music, and even their presentation style.
This visual identity builds familiarity and trust with viewers. A consistent color palette, font style, and graphic elements create a cohesive look, making your tutorials instantly recognizable. Consider using a platform like Canva to create a unified branding kit for your content.
The Impact of Motion Graphics and Sound Design
Using motion graphics and sound design effectively adds polish and professionalism. Motion graphics, like lower thirds identifying speakers or animated transitions, keep viewers engaged and enhance visual appeal.
Likewise, suitable background music and sound effects improve the mood and professionalism. However, avoid overly loud or distracting audio. Aim for music that complements your content and creates a positive atmosphere.
Pacing for Optimal Comprehension
Your tutorial's pacing directly affects viewer comprehension. Varying the pace maintains engagement. Speeding up repetitive actions prevents boredom.
For example, speed up segments showing app installation, but slow down when explaining complex functions or troubleshooting. This dynamic pacing helps viewers focus on and absorb key information.
Implementation Strategies for Every Skill Level
Even beginners can implement these finishing touches. Free video editing software often includes basic motion graphics templates and audio editing. Tools like OpenShot and Kdenlive offer basic features for adding text, transitions, and audio effects.
As your skills improve, consider investing in professional software like Adobe Premiere Pro or Final Cut Pro for greater control and flexibility. These tools unlock more creative possibilities for visuals and sound design.
Additionally, many online resources offer free or affordable sound effects and music. Explore sites like Free Music Archive and YouTube Audio Library for royalty-free options.
These finishing touches often distinguish amateur from professional presentations. By incorporating these elements, you can significantly enhance your tutorial videos, making them more engaging, informative, and successful.
Getting Your Tutorials Seen By The Right Audience
Creating outstanding tutorial videos is only half the battle. The other half is making sure your content finds the right viewers. While basic SEO is important, successful creators go beyond simple keywords and build strategic distribution networks. This involves understanding what works best on each platform and tapping into viewer psychology.
Mastering Platform-Specific Strategies
Different platforms have different audiences and algorithms. What's effective on YouTube might not be on TikTok. For example, YouTube thrives on longer, more in-depth tutorials, while TikTok prefers short, engaging clips. This means tailoring your content and promotion strategies accordingly.
- YouTube: Focus on detailed descriptions, relevant tags, and playlists to organize your content. Engage with comments and encourage subscriptions.
- TikTok: Create short, eye-catching videos using trending sounds and hashtags. Participate in challenges and collaborate with other creators.
- Instagram: Use Reels and Stories to share quick tutorial snippets and behind-the-scenes looks. Connect with your audience using polls and Q&As.
- Facebook: Join relevant groups and share your videos where your target audience hangs out. Consider using Facebook Ads to reach a broader audience.
You might find this resource helpful: How to master customer service training videos. It offers valuable insights into creating effective training videos for customer service teams.
Leveraging Viewer Psychology: Encouraging Shares and Recommendations
Understanding viewer psychology is key to getting more shares and recommendations. People share content they find valuable, entertaining, or emotionally resonant. Create tutorials that are not only informative but also engaging and worth sharing.
- Create a Strong Emotional Connection: Begin your tutorials by addressing a specific problem your audience faces. This builds an instant connection and makes your content more relatable.
- Encourage Interaction: Ask questions, use polls, and respond to comments. This builds a sense of community and motivates viewers to share their experiences.
- Make Your Tutorials Easy to Share: Include social sharing buttons and encourage viewers to spread the word to others who could benefit.
This sets up a cycle where your viewers become your biggest advocates.
Thinking Outside the Box: Counterintuitive Promotion Strategies
Sometimes, the most effective promotional strategies are unconventional. For example, instead of always pushing your newest video, try highlighting older, evergreen content. This can re-engage existing viewers and attract new ones who missed it initially. Also, consider collaborating with other creators in your niche to introduce your work to a new audience. This cross-promotion benefits everyone involved.
Implementing Promotion Strategies: Tailoring to Content and Audience
The best promotion strategy depends on your content and audience. A tutorial on advanced coding requires a different approach than a tutorial on basic cooking. For instance, promoting coding tutorials in online developer communities would be more effective than sharing them on a general platform.
Knowing your audience's preferred learning styles and platforms helps you tailor your promotion. If your viewers mainly use mobile, optimize your videos for mobile viewing and promote them on platforms like TikTok and Instagram. If they prefer desktop, focus on platforms like YouTube and embed videos on your website or blog. This targeted approach maximizes your reach and ensures the right people see your tutorials.
Streamlining Your Support Workflow With Screendesk
Creating and sharing helpful tutorials is a great way to boost customer support and satisfaction. Screendesk offers a complete video solution to streamline your support process. With tools for screen recordings, live video calls, and video sharing, Screendesk helps support teams quickly address and resolve client issues. Visit https://screendesk.io to learn more.